 |
||||||
References to manufacturing processes. |
||||||
|
|
||||||
The head: patterns and design. |
||||||
|
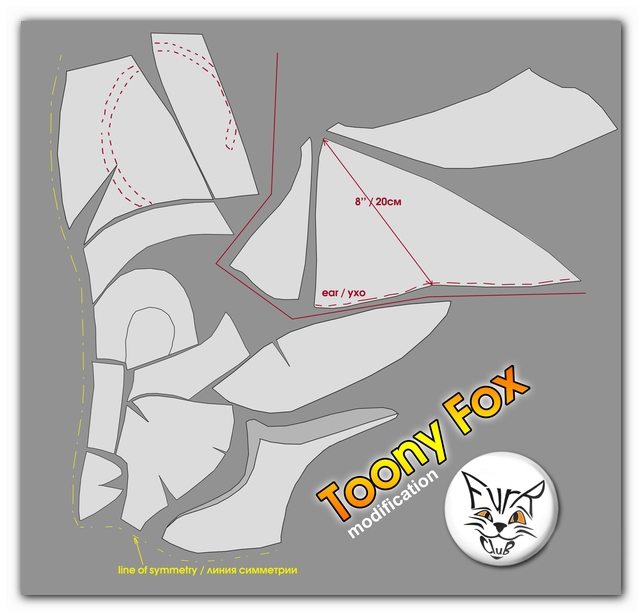
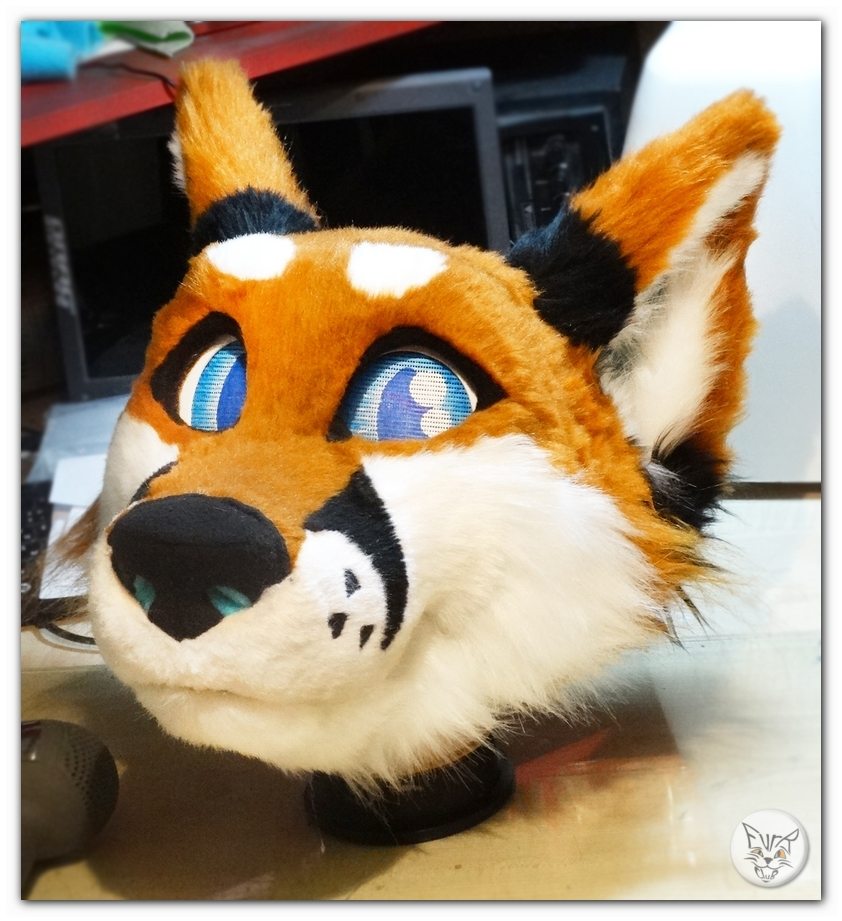
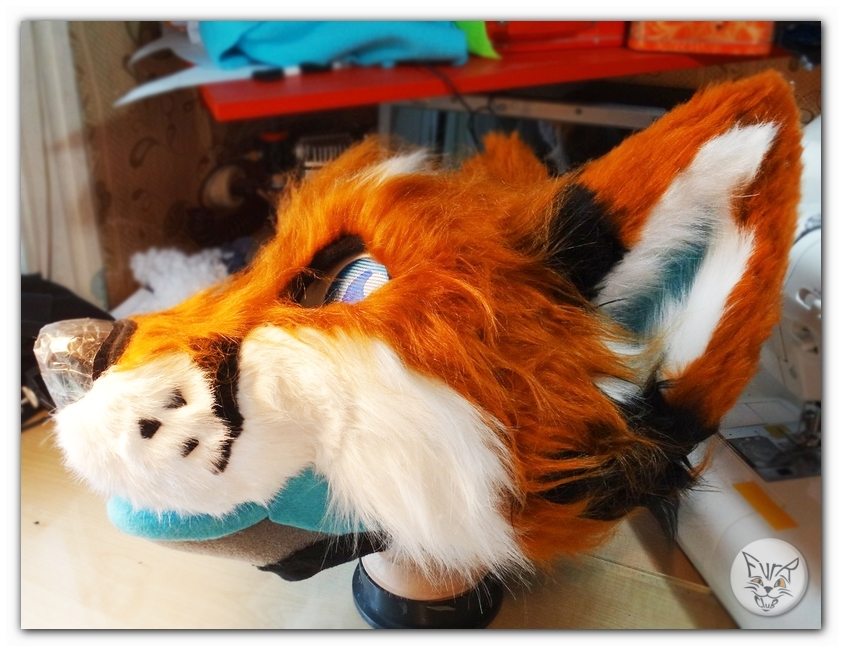
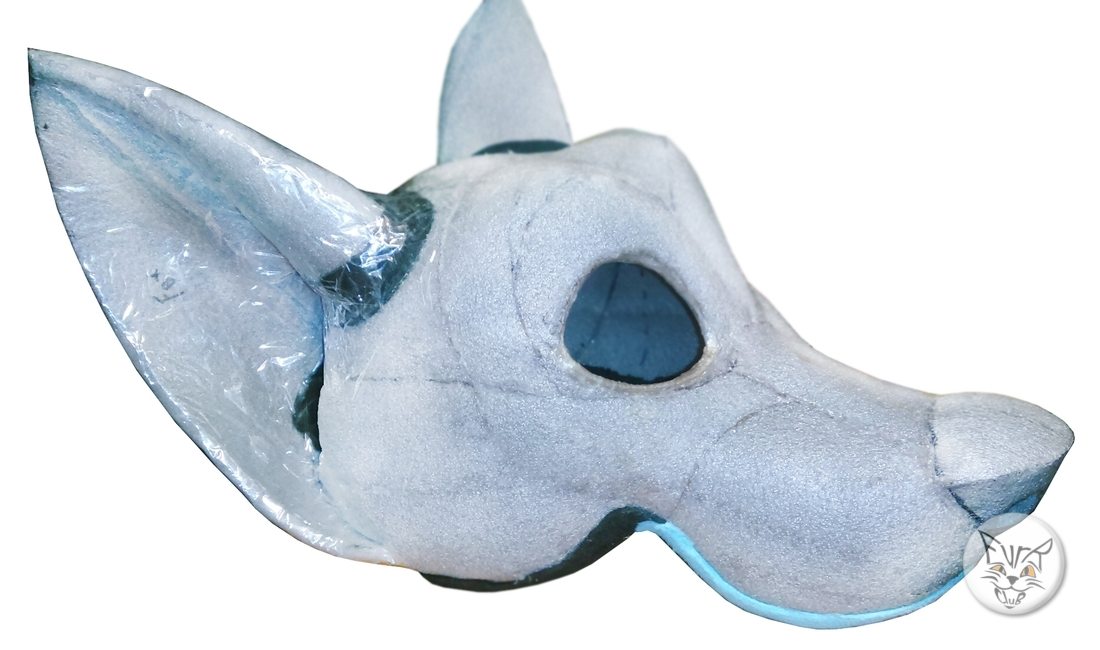
The head - from the
project "Cartoon Fox", with a small modification for a bigger smile.
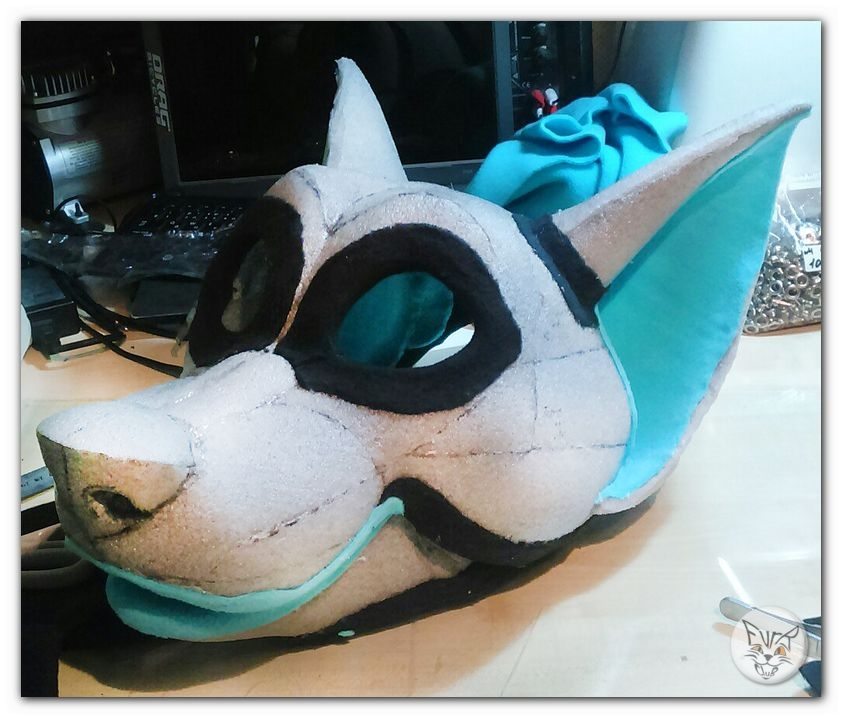
The yellow dotted line on the pattern is the line of symmetry of the head. Part for the patterns of the ear and a place for its gluing are separated by a red line. The workpiece has light weight - is glued from foam polyethylene, with a metal frame around the edges therefore, perfectly retains and restores the shape. The jaw is openable and may full removable. |
||||||
 |
||||||
|
||||||
| Up... | ||||||
The stage of pasting the head by fur |
||||||
|
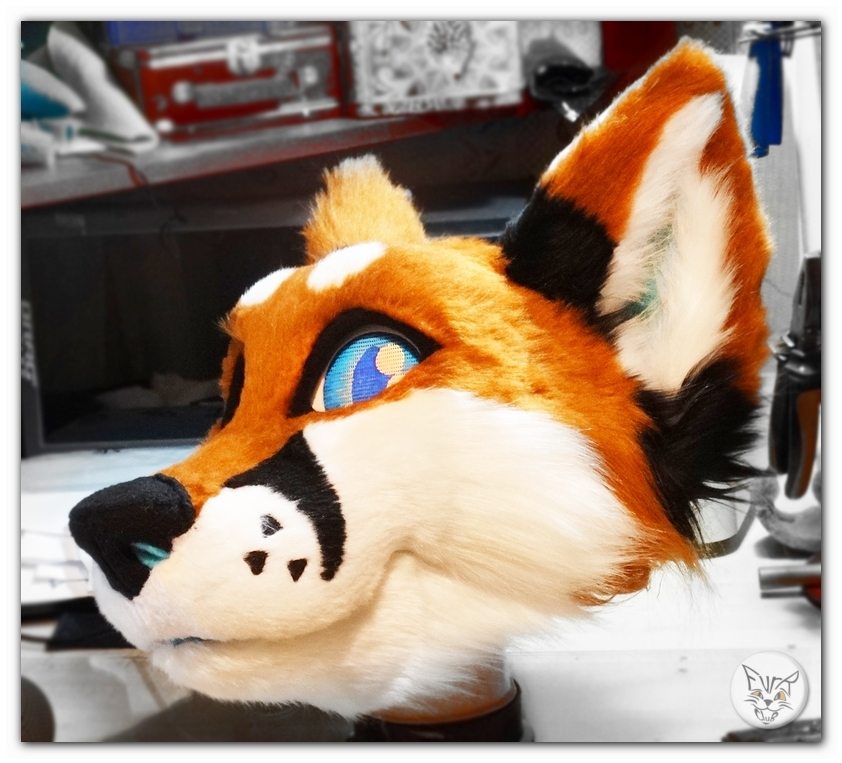
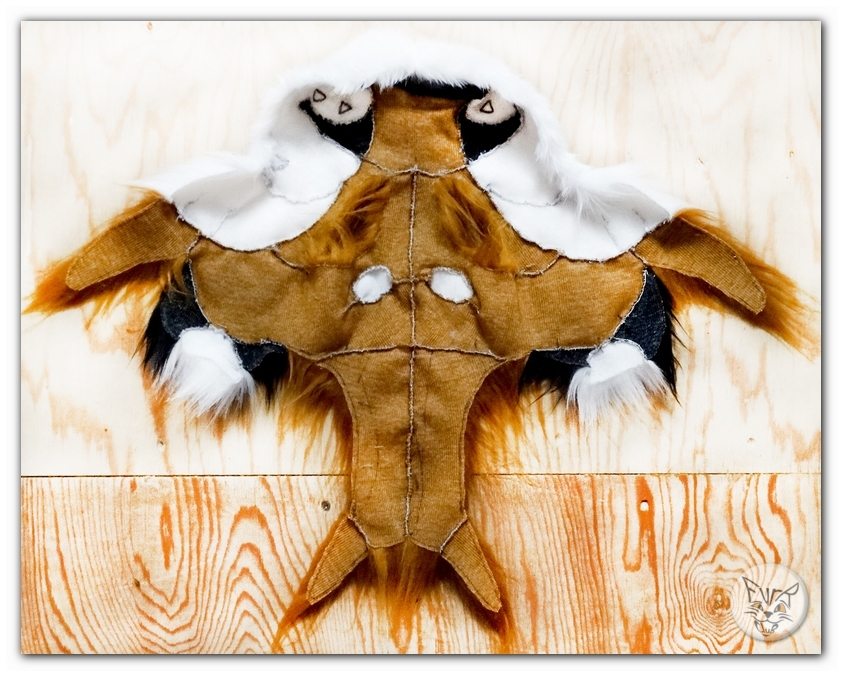
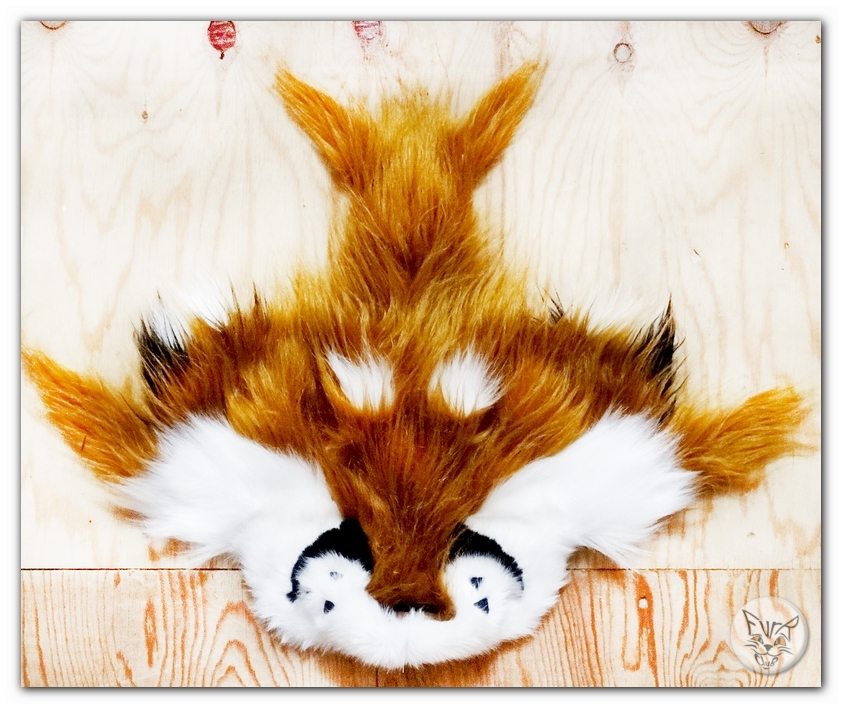
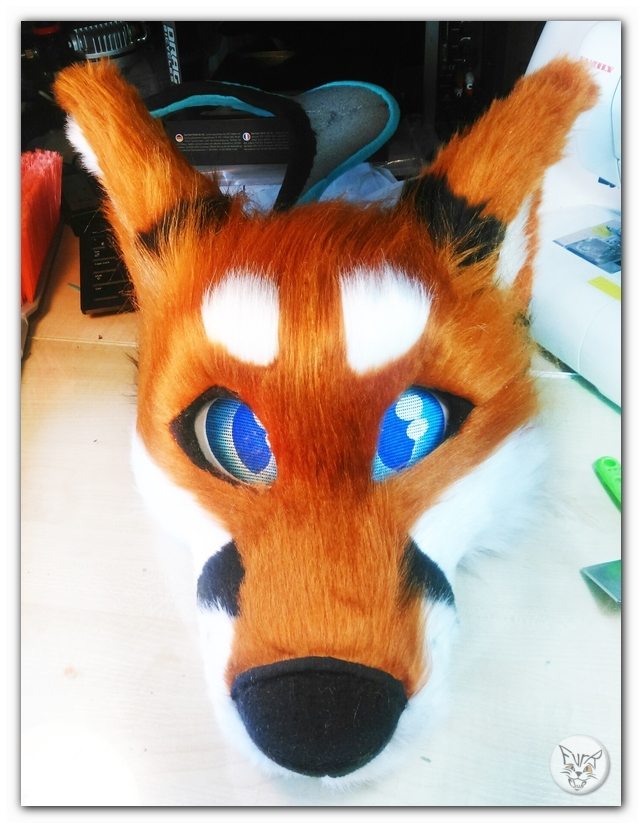
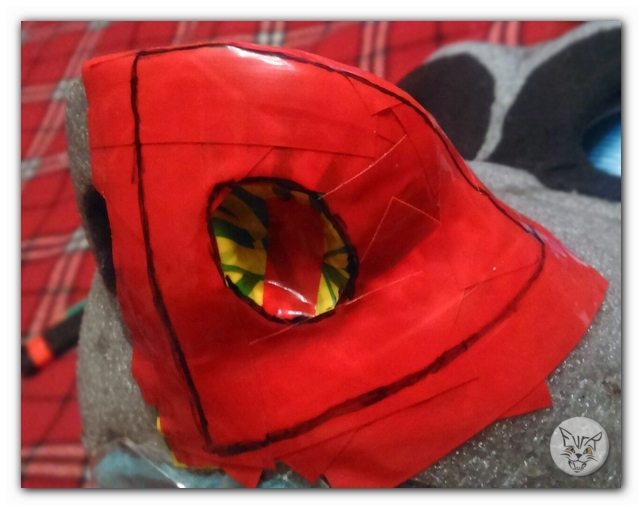
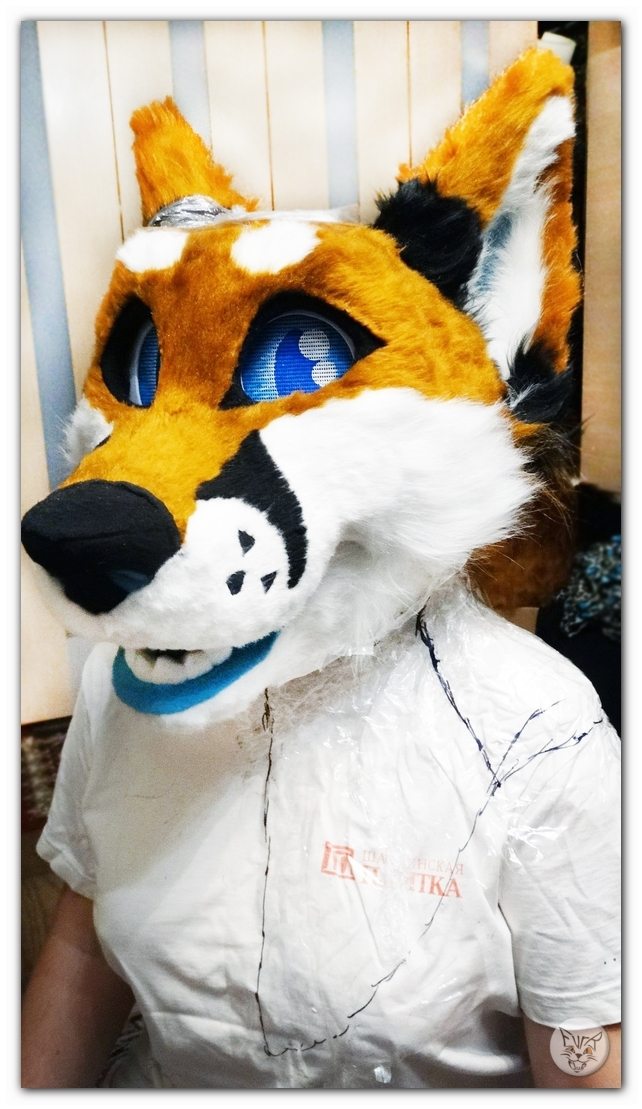
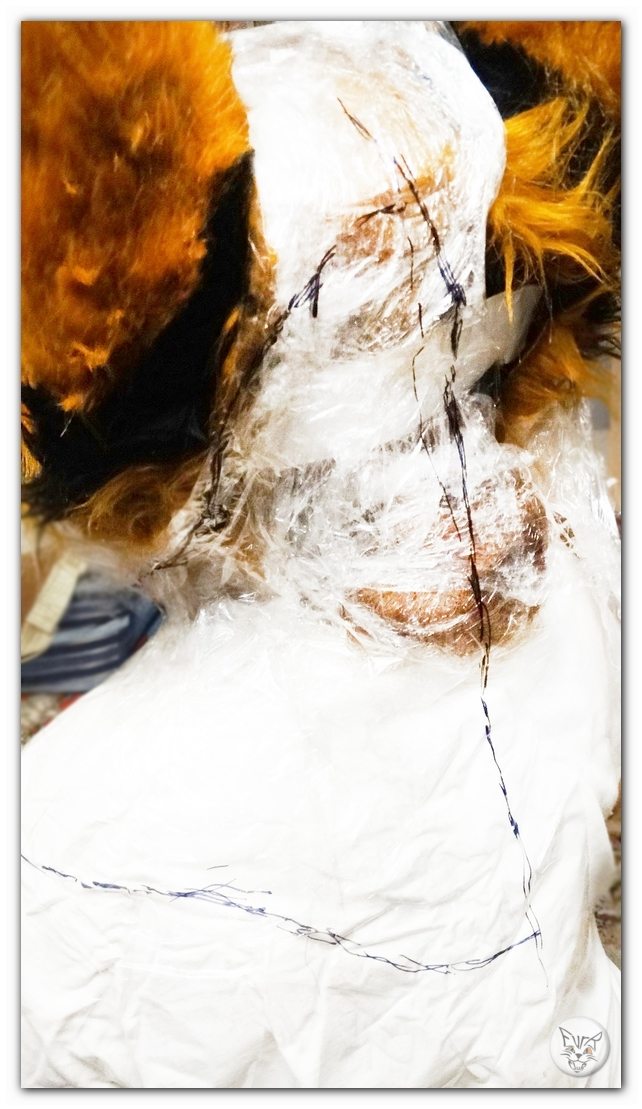
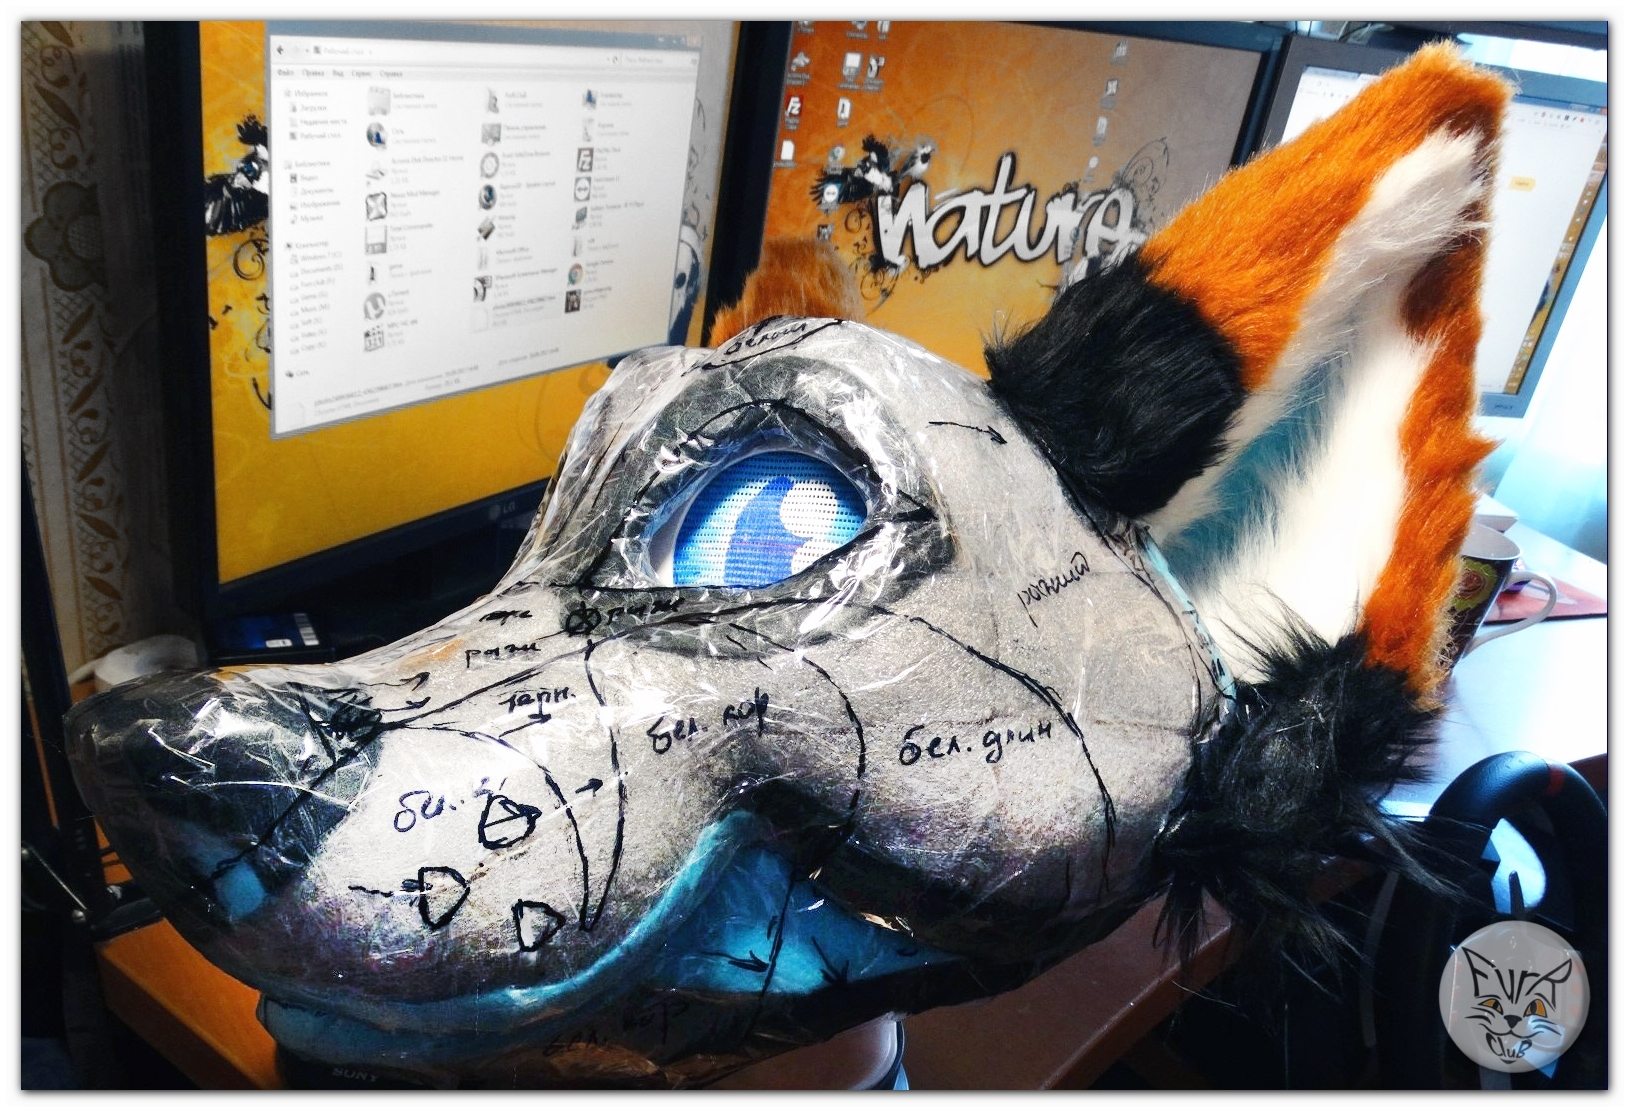
To obtain the
patterns for fur, we the is pasted adhesive tape on the mask by several
layers. And further we drawn line according to the chosen color of the
character. Next, the adhesive tape is cut into patterns. The fur is
sewn as the skin of the head. The edges of the fur near the eyes and
mouth is are bent and glued "under the skin" to prevent the tissue base
of the artificial fur from being seen.
|
||||||
 |
||||||
|
||||||
|
||||||
|
||||||
| Up... | ||||||
The nose |
||||||
|
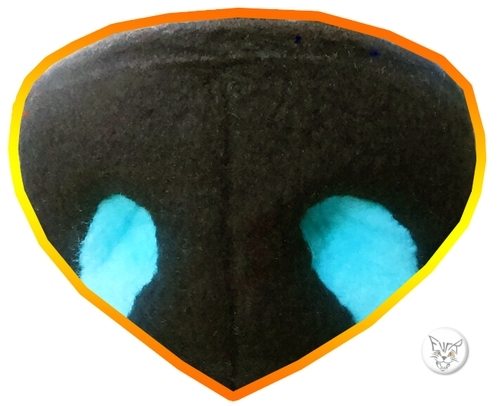
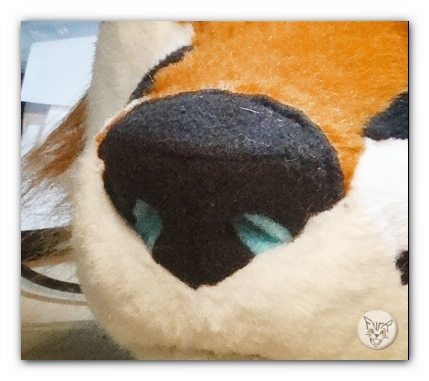
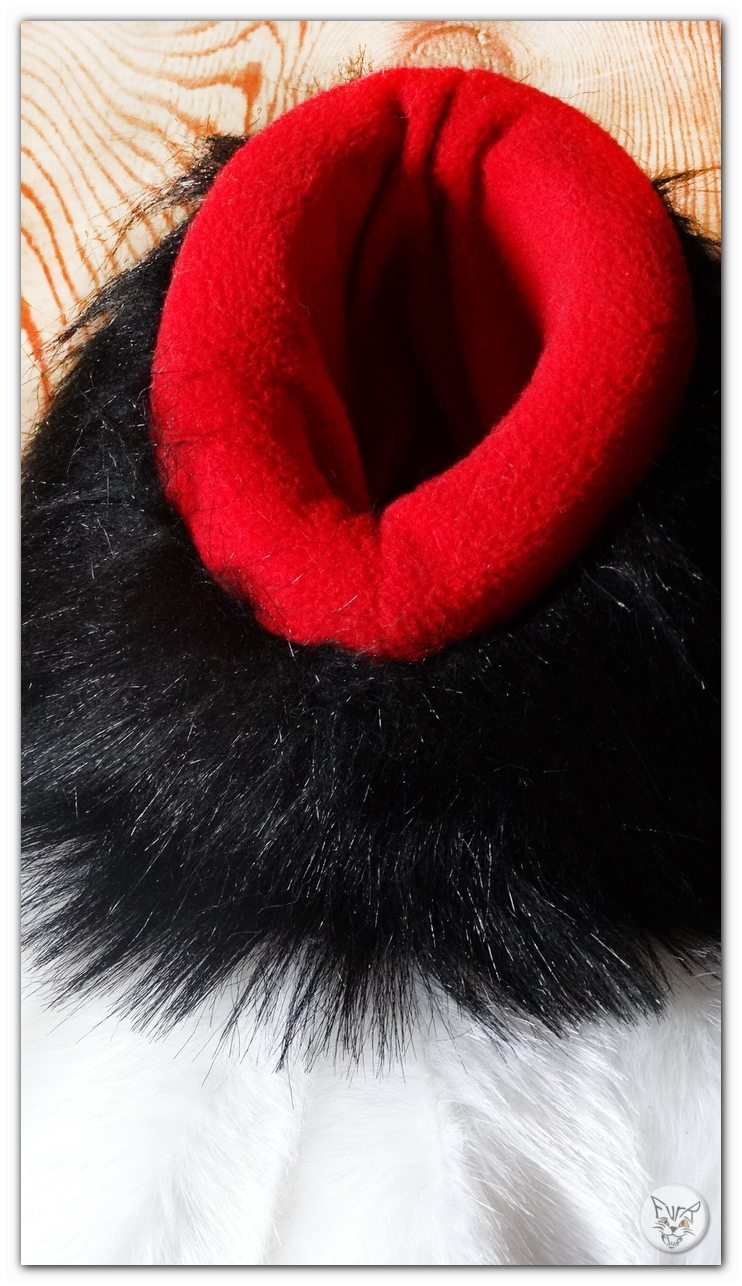
The volume for the
nose is created by the same material as the head, but more subtle. The
nose is soft and covered with fleece. The method of obtaining patterns
from fleece - in the photo.
|
||||||
|
||||||
|
||||||
| Up... | ||||||
The ears |
||||||
|
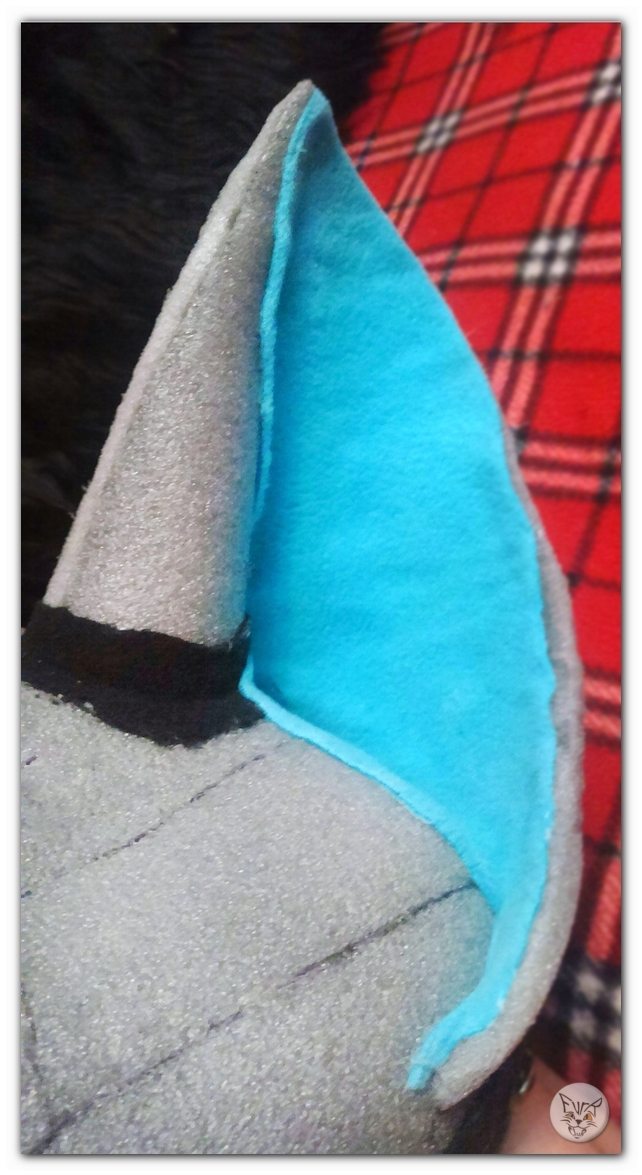
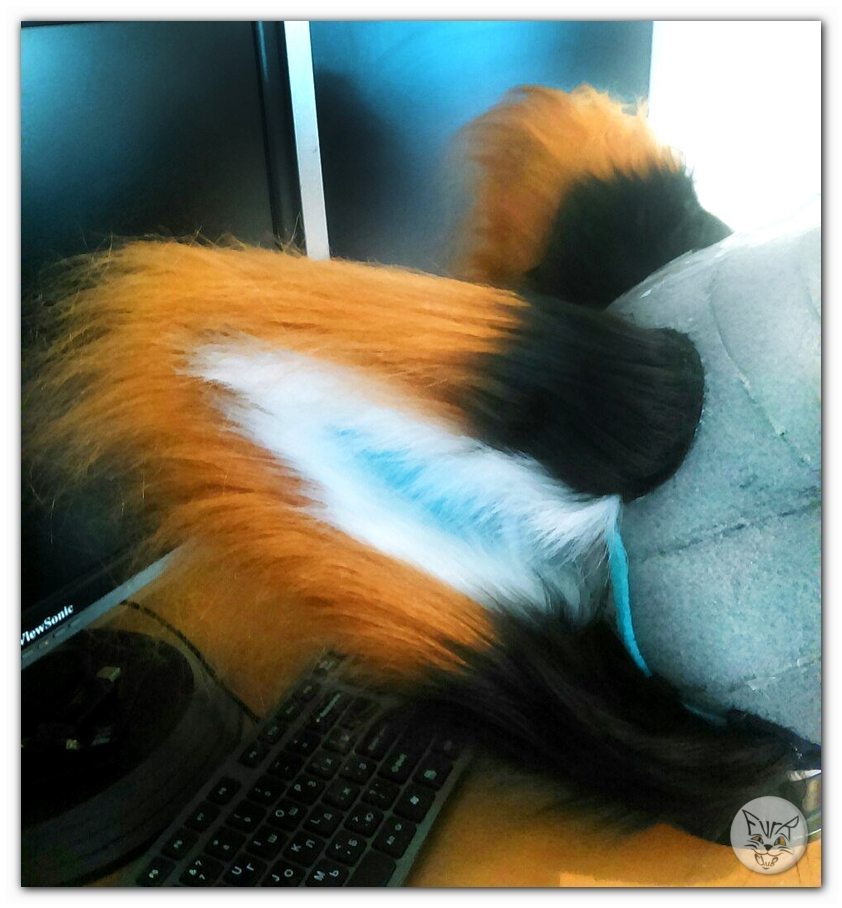
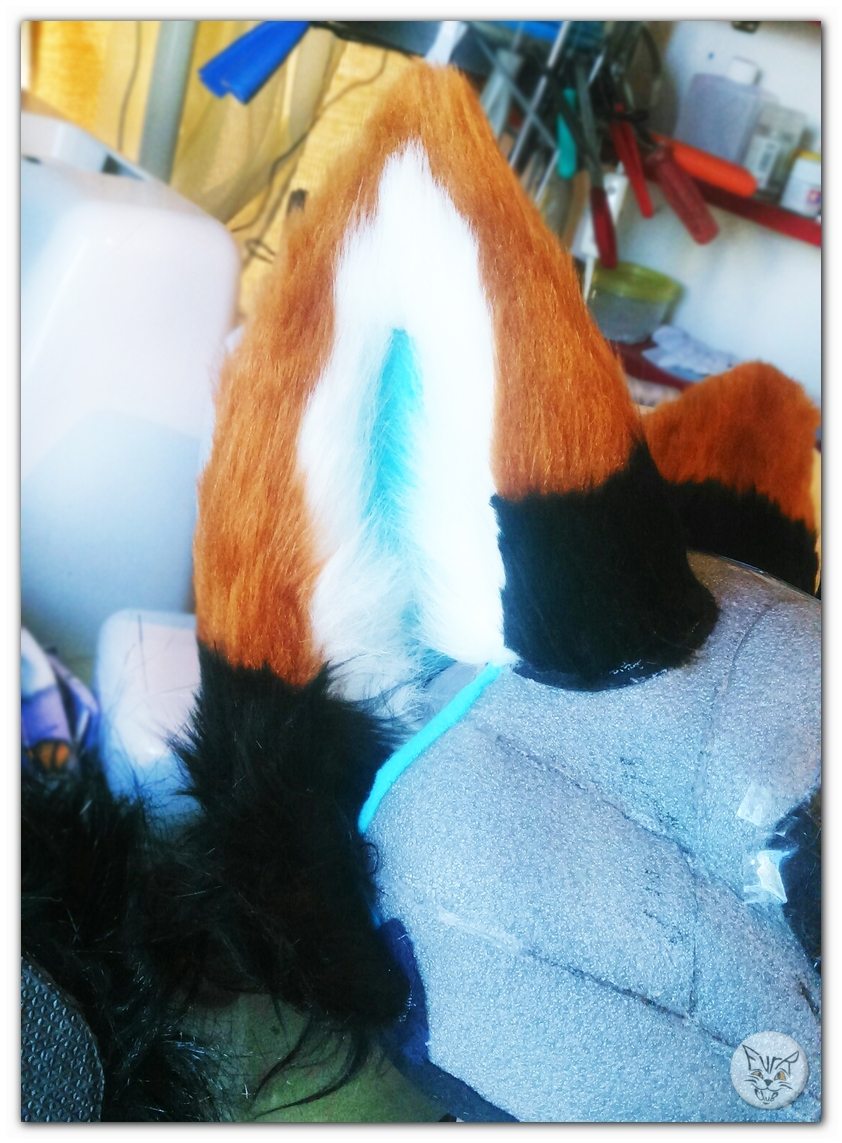
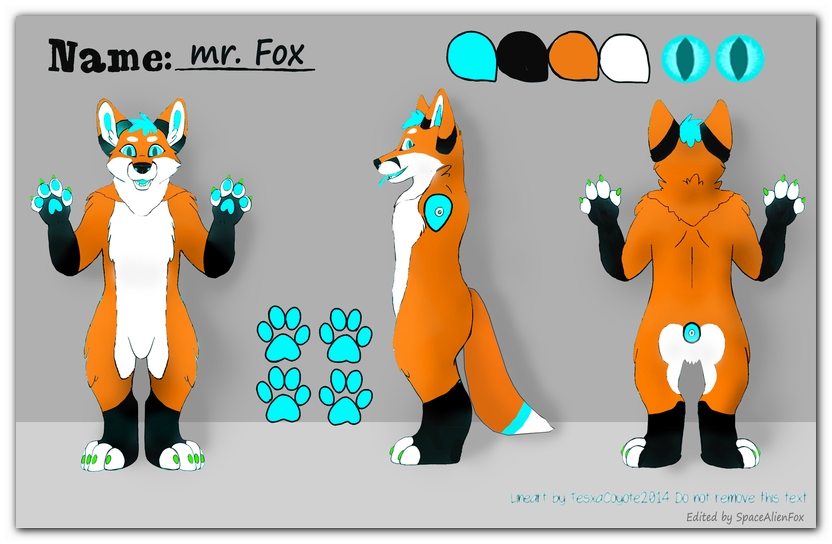
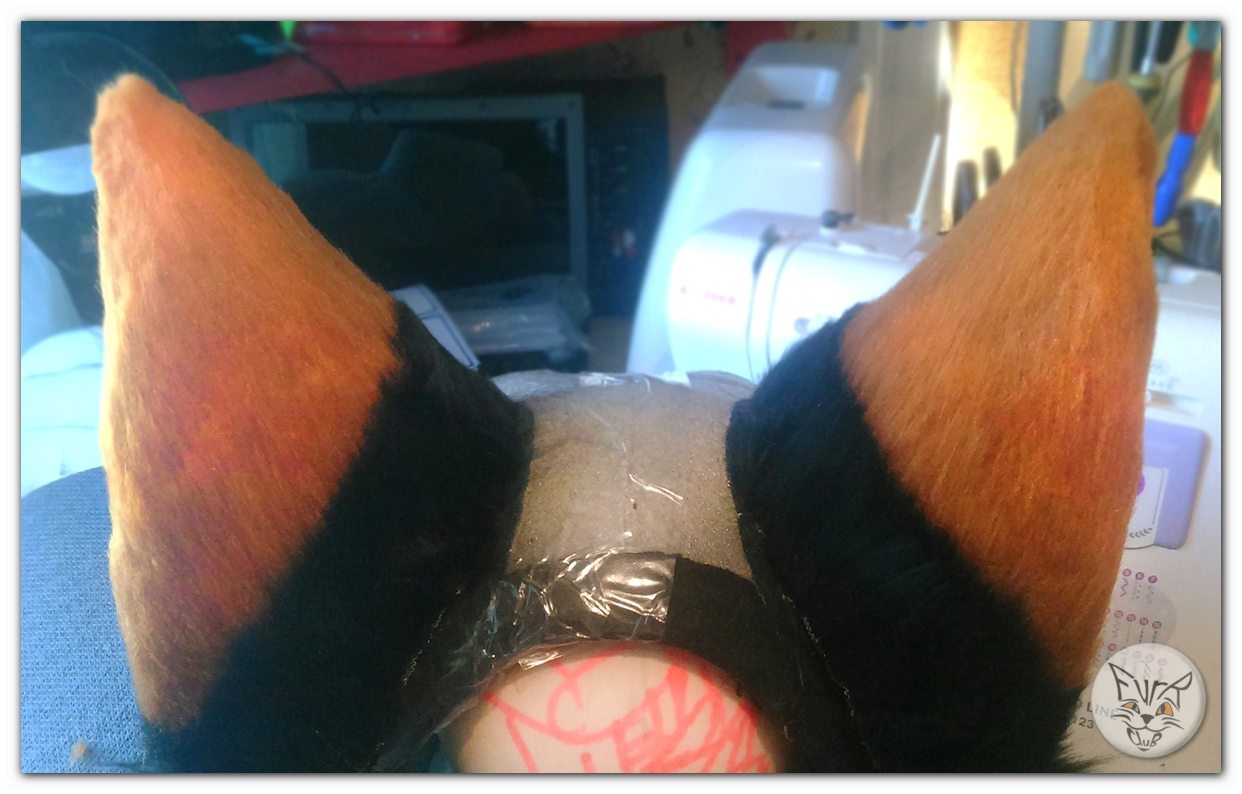
Since on the reference
the ears inside have a blue color - they are pasted by the
corresponding fleece. The pattern for fleece was obtained by gluing the
ear by adhesive tape. The transition from the ears to the head is also
pasted by stripes of fleece for the further convenience of gluing the
fur in these places. |
||||||
|
||||||
|
||||||
 |
||||||
|
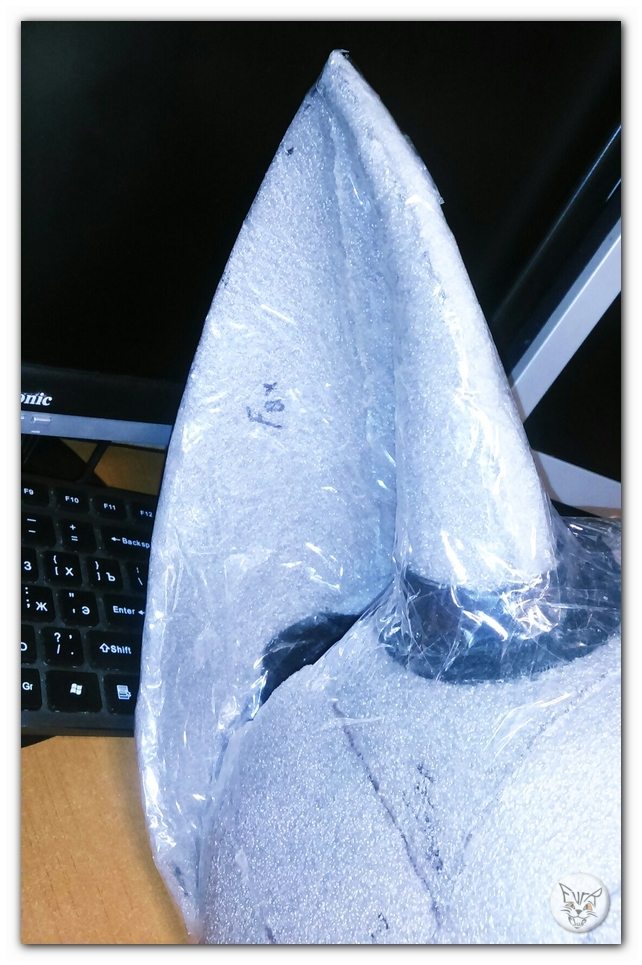
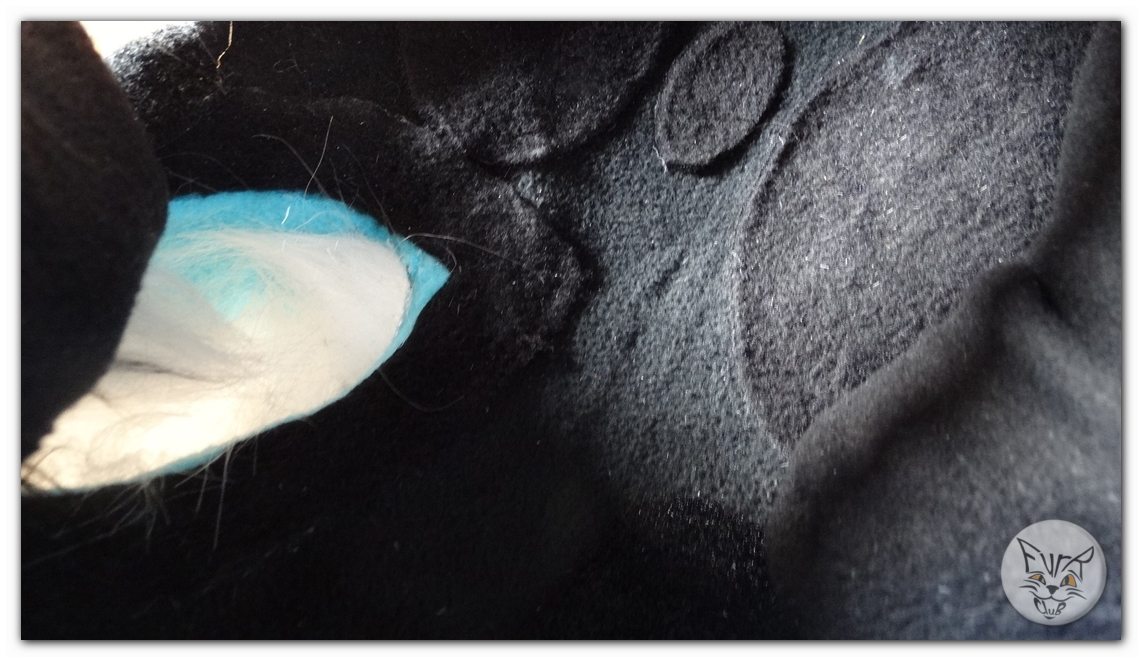
Vent hole located
inside the ear:
|
||||||
 |
||||||
| Up... | ||||||
Pasting by fleece inside of head |
||||||
|
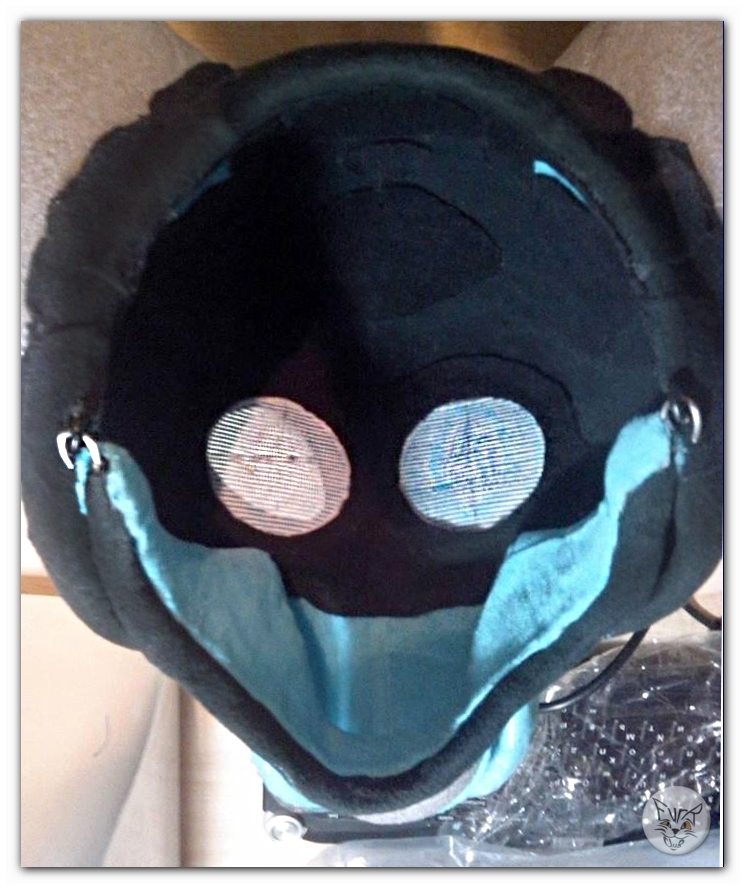
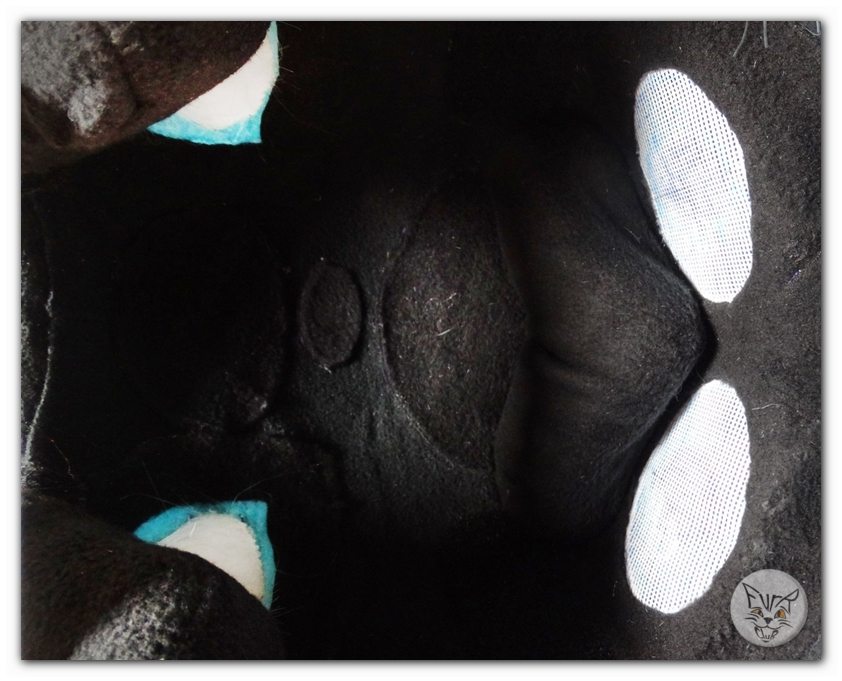
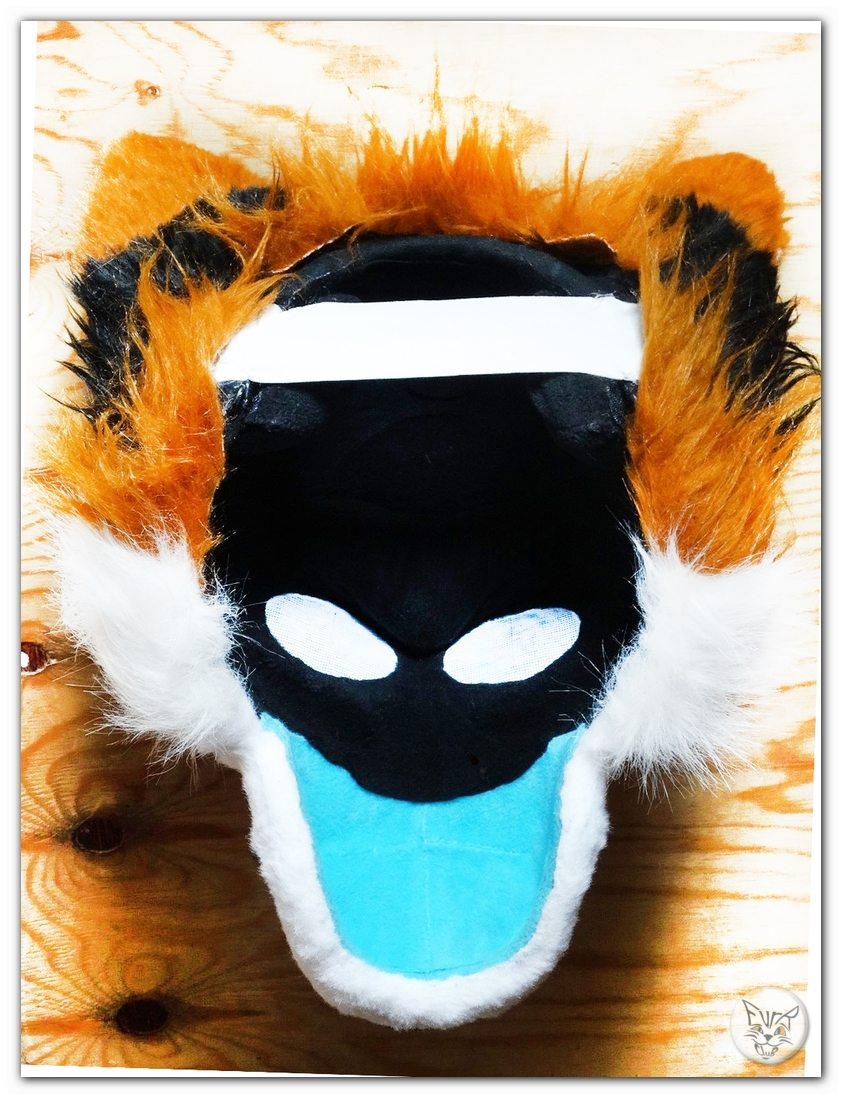
Stages of pasting.
1. Gluing by stripe
of fleece by edges of the jaw and mask, including the eyes.
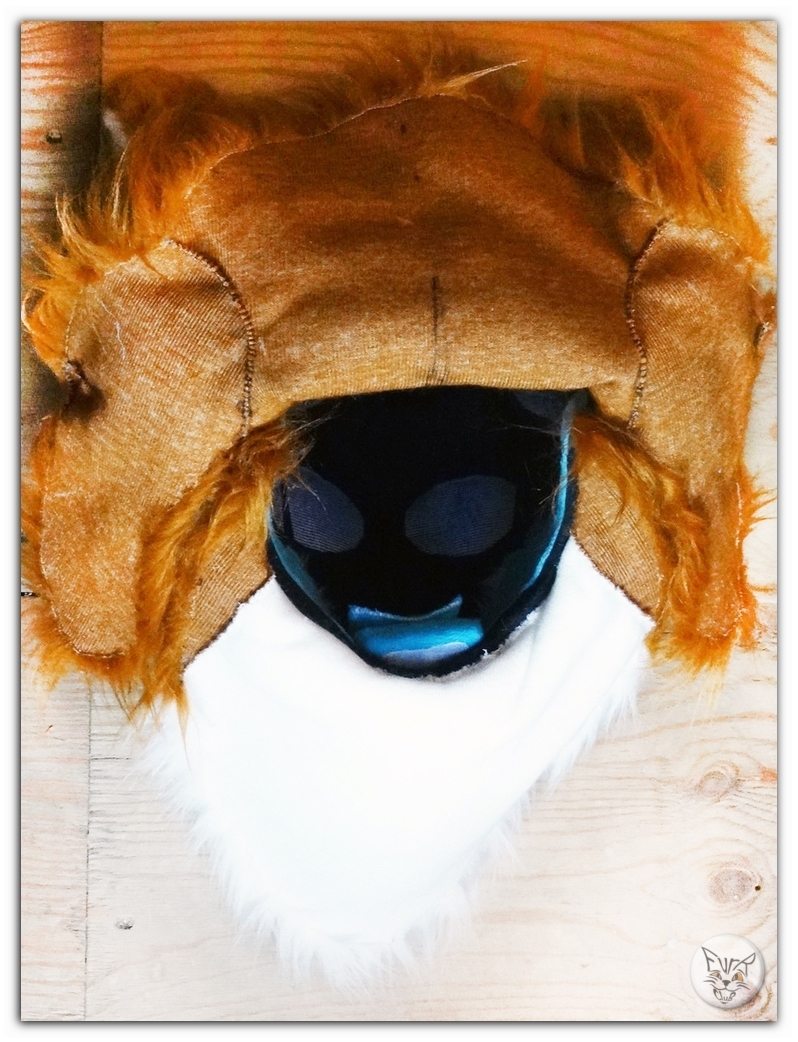
2. We get the pattern for inner part of head, pasting inside with adhesive tape. 3. The obtained pattern from adhesive tape is transferred to the fleece and we paste by fleece a large area inside the mask. 4. Now is set the eyes in their place, and made a pattern of fleece fro it (again pasting with adhesive tape). In the end, the whole inner surface of the head turns out to be covered with fleece. On the second photo, the pads are visible: two behind ears of Fursuiter to create a place for the jaw of the mask, and one on the forehead. All pads are removable and can be shifted (to some extent) to adjust the best fit of the mask. |
||||||
|
||||||
| Up... | ||||||
The eyes |
||||||
|
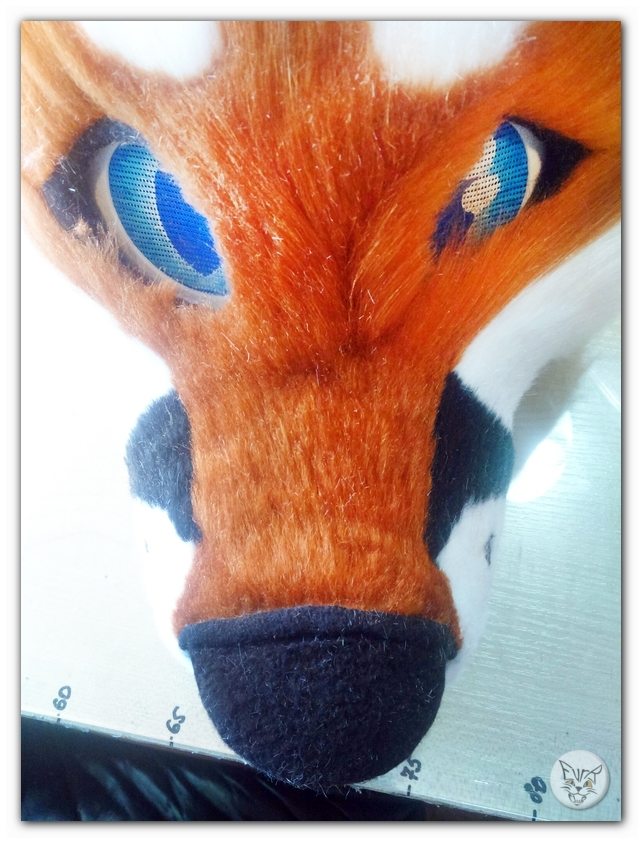
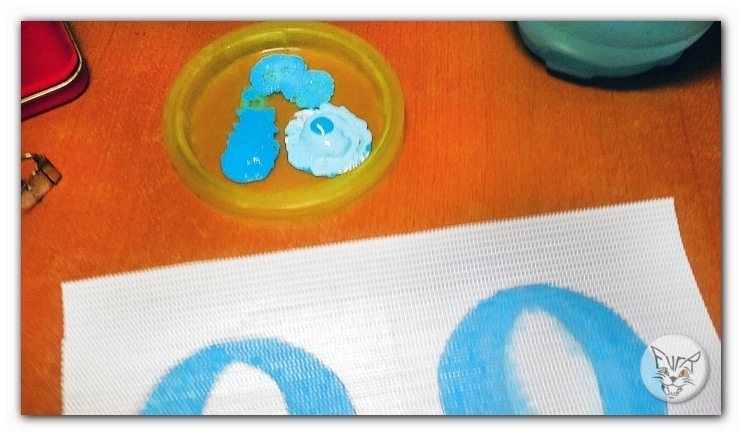
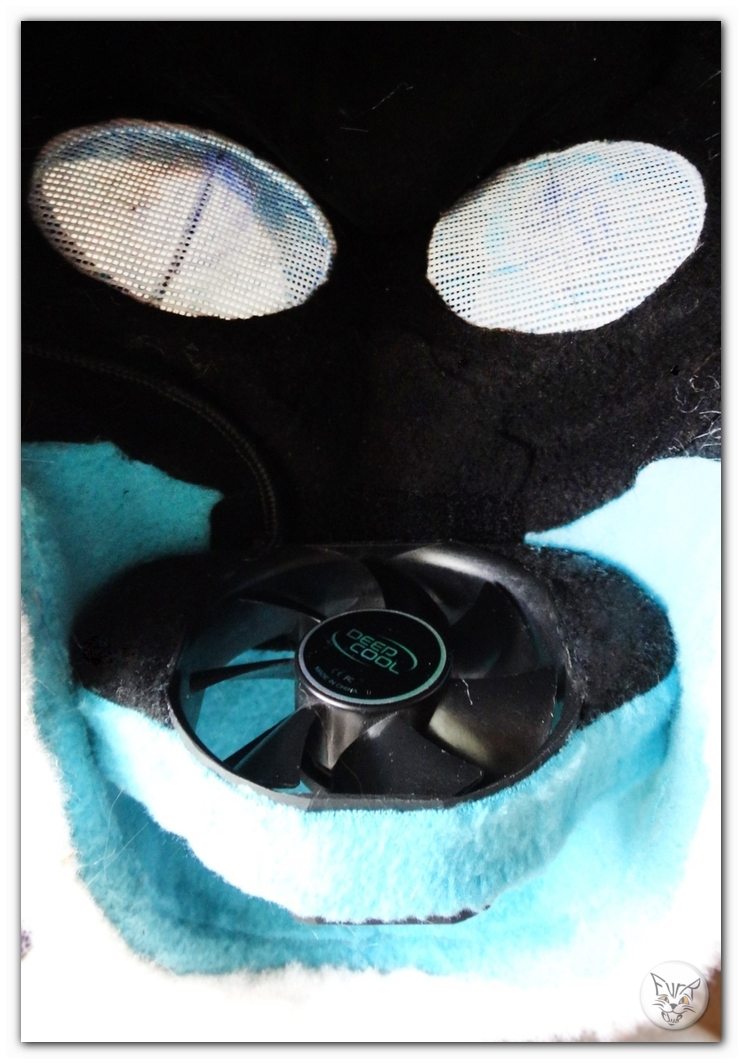
The eyes are
made with the tracking effect. The frame of the eye is made of 3 mm
plastic, with a cavity for the nose of Fursuiter. A large iris and a
pupil are painted with waterproof acrylic on banner grid. Inside the
head, the boxs of the eyes is covered with a black fleece.
The basis of the eyes is collected in a similar way, as in this our project. |
||||||
|
||||||
| Up... | ||||||
Apron for the head |
||||||
|
As well as for the
head, the manufacture of aprons begins with obtaining their patterns,
by gluing the required place with adhesive tape. In our design there
are two aprons: front and rear. This allows you not to use the zipper
(usually from the rear), which makes it easier to dress and use the
mask, while keeping the profile of the neck. The back apron covers the
neck and fastens on a reliable, large button under the front apron.
Also, given that the jaw may fully completely removed together with the
front apron, this allows you to get good access to the inside of the
finished mask, for example, for drying or servicing a removable fan.
|
||||||
|
||||||
|
Before aprons
will be sew to мask it looks like on the photo below. The free edges of
the fur are left around the perimeter - It is to them that the apron
will be sewn. The sewing seam of apron to mask is glued exactly on the
edge of the base of the head, forming a neat joint along its entire
length.
|
||||||
|
||||||
|
|
||||||
|
||||||
|
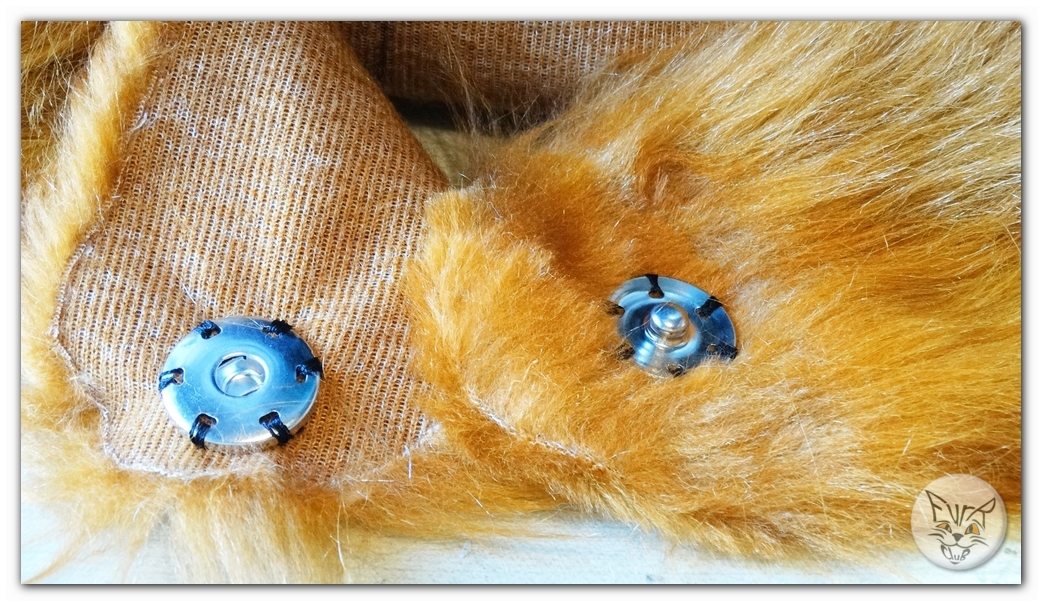
The rear apron is
fastened in front. The fastener is hidden under the front apron. The
design of the apron simplifies the dressing of the mask, and removes
such an inconvenient element as lightning in the visible place of the
mask.
|
||||||
 |
||||||
|
|
||||||
| Up... | ||||||
Teeth |
||||||
|
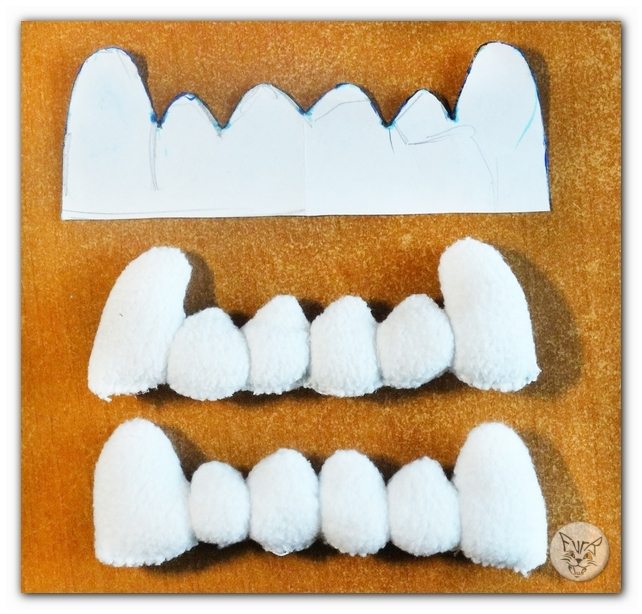
Teeth are made of
white fleece according to shown pattern.
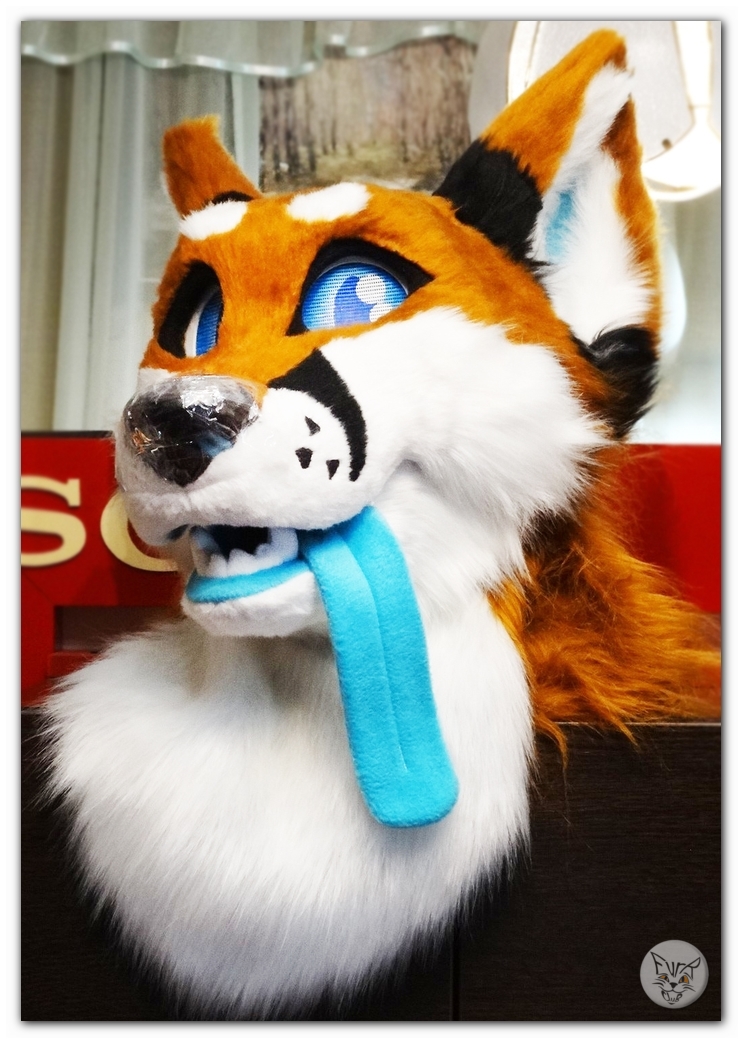
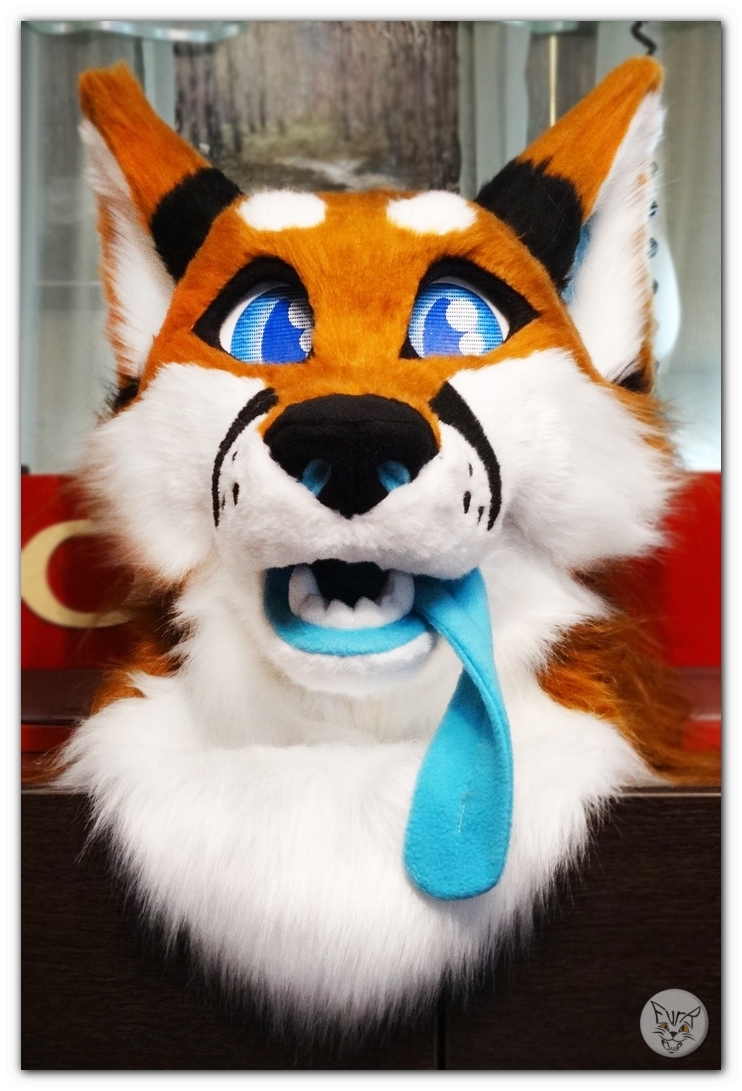
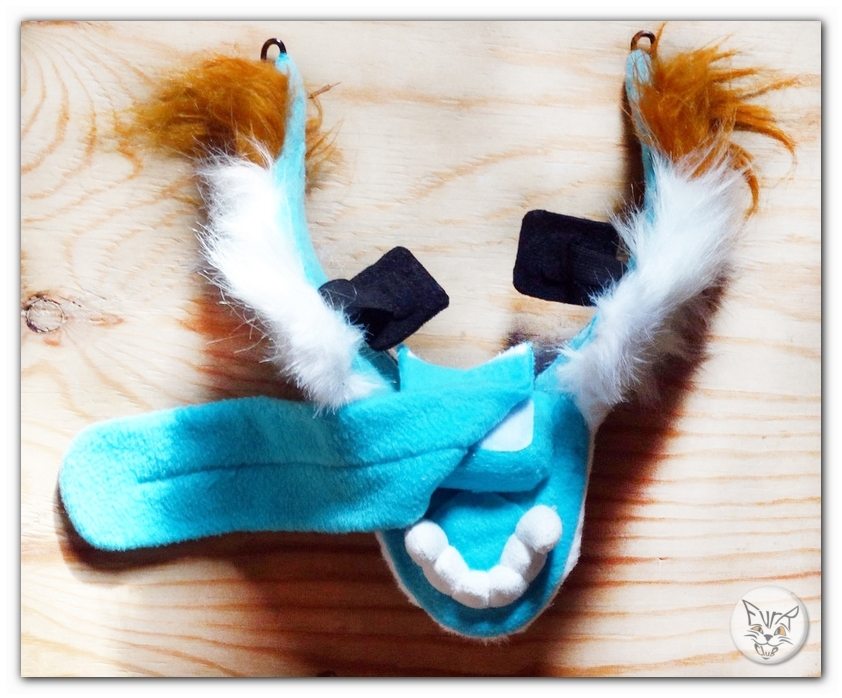
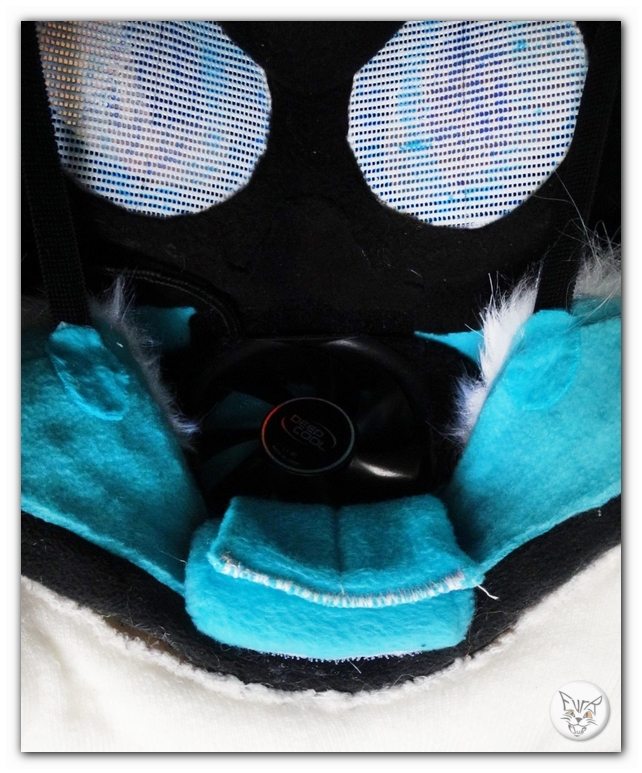
Individual teeth are obtained by embracing the "fleece trumpet" with a stout nylon thread. The jaw is pulls up by textile elastic bands, which are fastened inside the mask on Velcro. Inside the mask have the area of gluing for the Velcro is increased, which allows them to be glued with different tension. The jaw is completely removable. On the photo with the right, you can see a removable tongue (several in the set), and a soft lining under the chin. The lining can be shifted in a wide range for a good jaw opening setting, and can be adjusted for the permanently open jaw to ensure constant good ventilation if it will be necessary. |
||||||
|
||||||
| Up... | ||||||
The head ventilation |
||||||
|
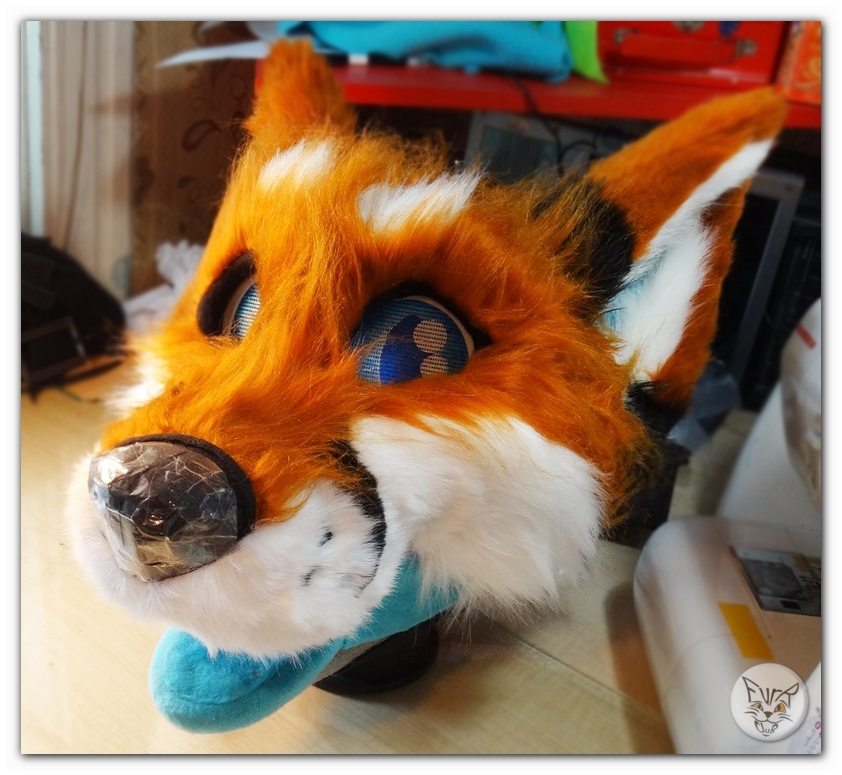
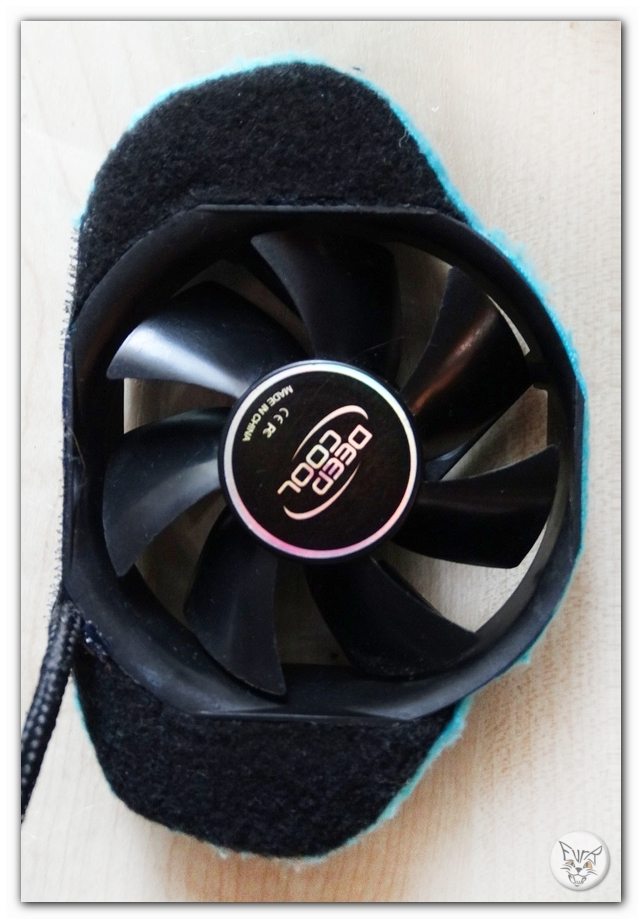
The mouth has
installed largest fan. This fan allows you to maintain good performance
and silence: from the USB back up fan the fan runs at half the possible
revolutions.
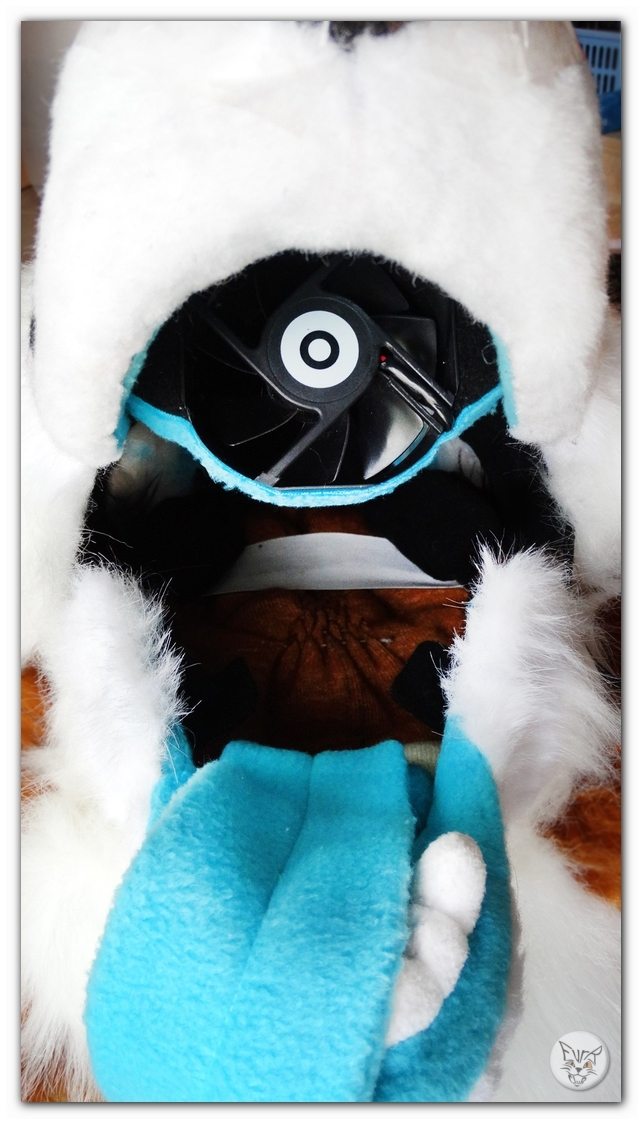
The fan is easy to remove if necessary. Its position can also be changed. Side gaskets around the fan prevent unnecessary flow of warm air back into the mask. By removing the fan, you can wash your head without damaging fan. With the fan installed, the mouth is left slightly open to allow the mask to be ventilated without constant retention open jaw by you are. The head design provides for a large ventilation gap between the head of a Fursuiter and mask: the air flows freely from mask ears and eyes, along the sides of Fursuiter head and exits through the mouth of mask. |
||||||
|
||||||
|
||||||
| Up... | ||||||
Paws |
||||||
|
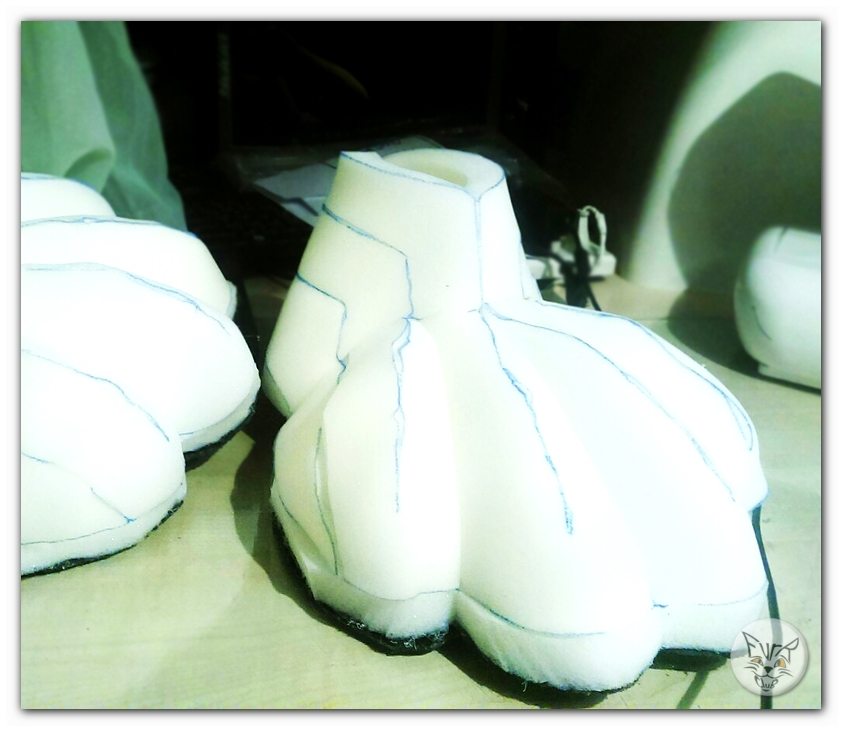
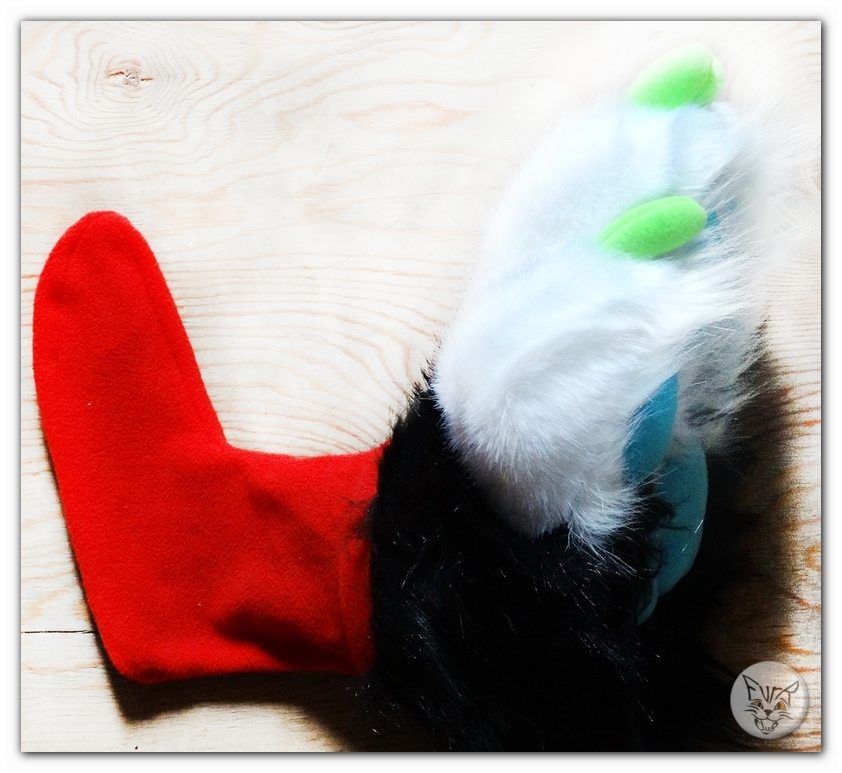
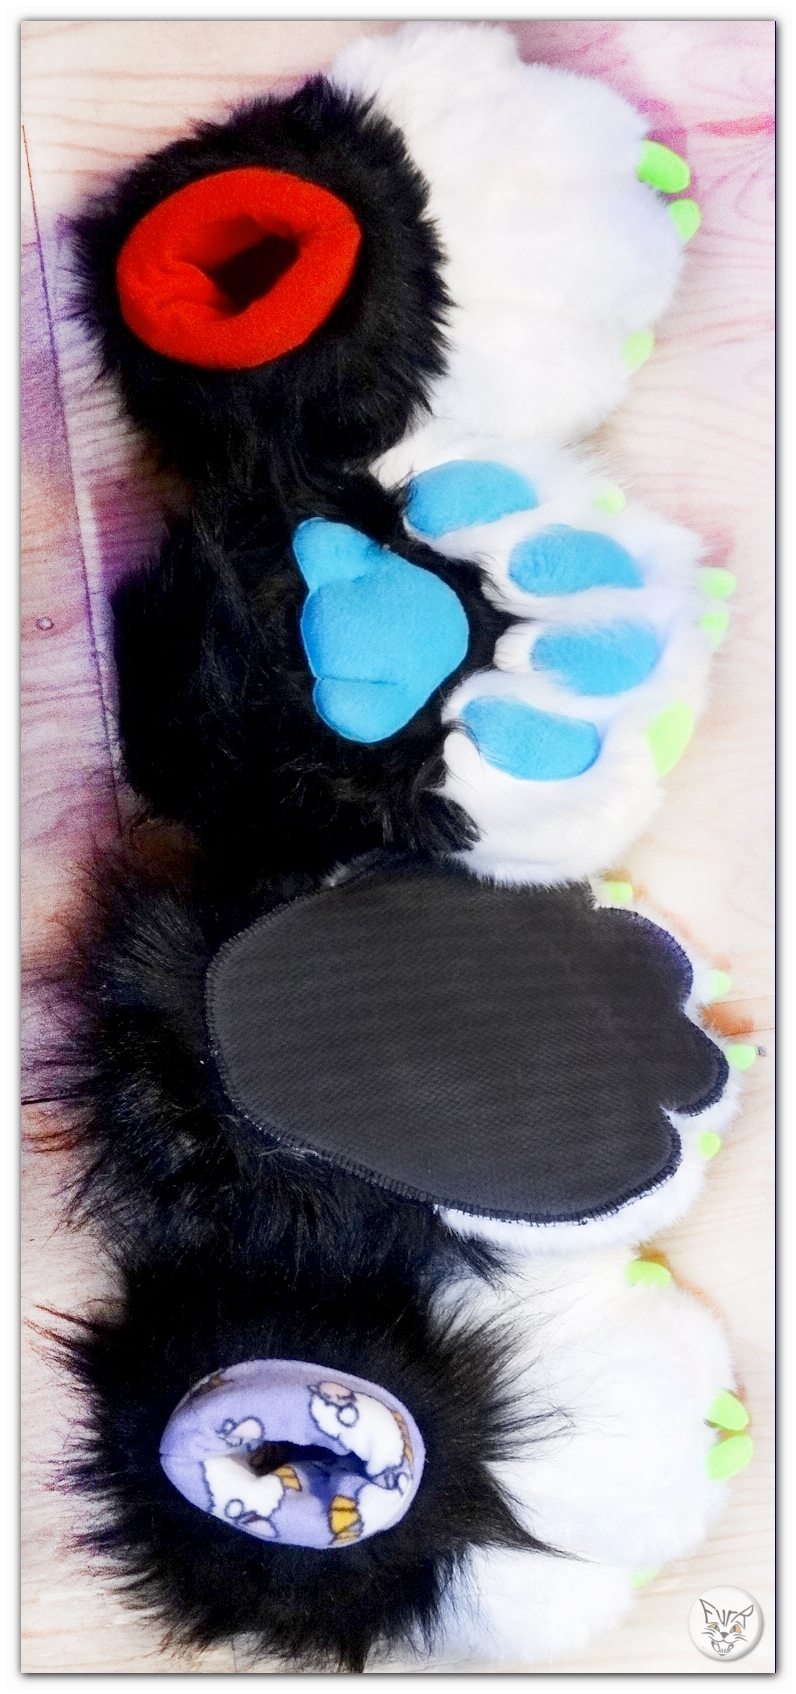
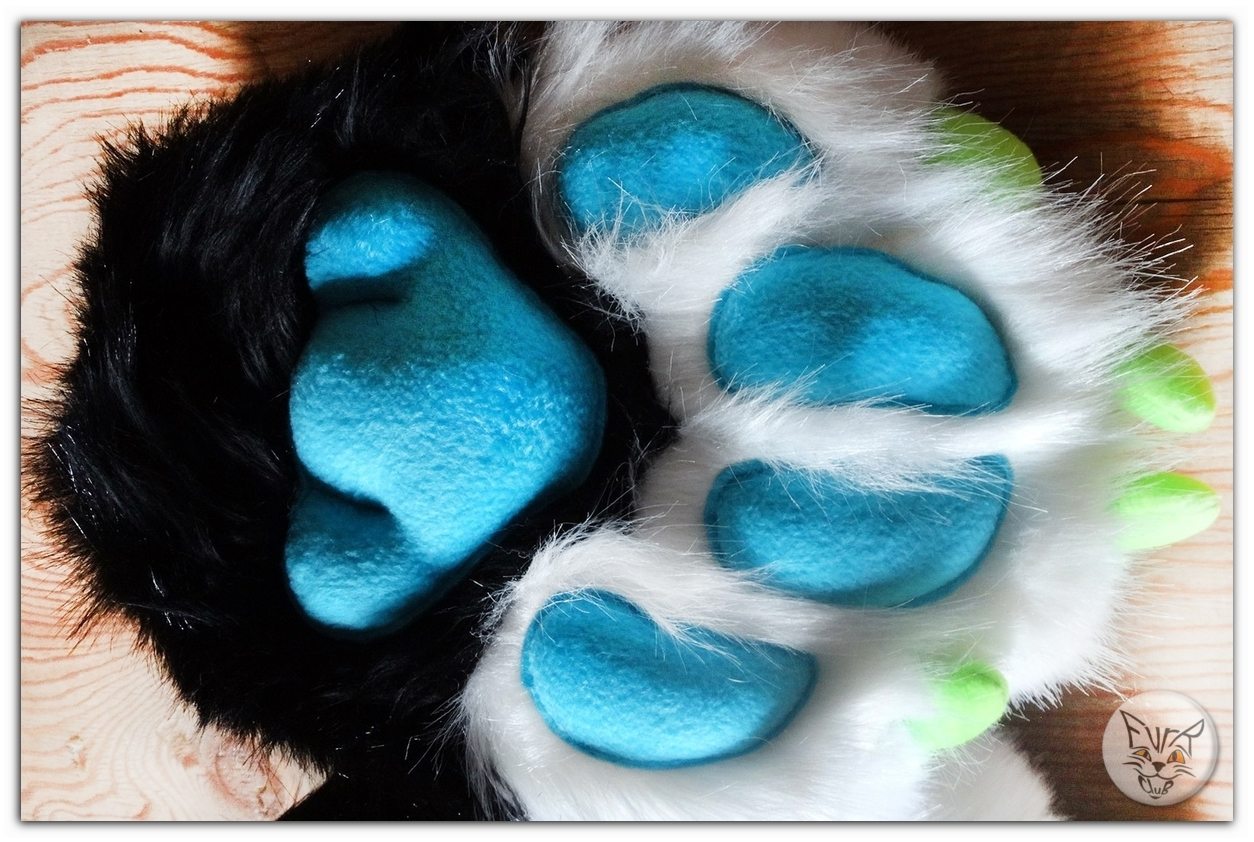
Paws ... The frame
of feetpaws is made from foam rubber. So it suitable for feet of almost
any size. Inside furpaws, for more comfort, is a fleece sock that can
be turned outward for drying or washing
In a set - two pairs of feetpaws: with "paw pads" on the sole and with a rubber sole for a dusty street. |
||||||
 |
||||||
|
||||||
|
||||||
|
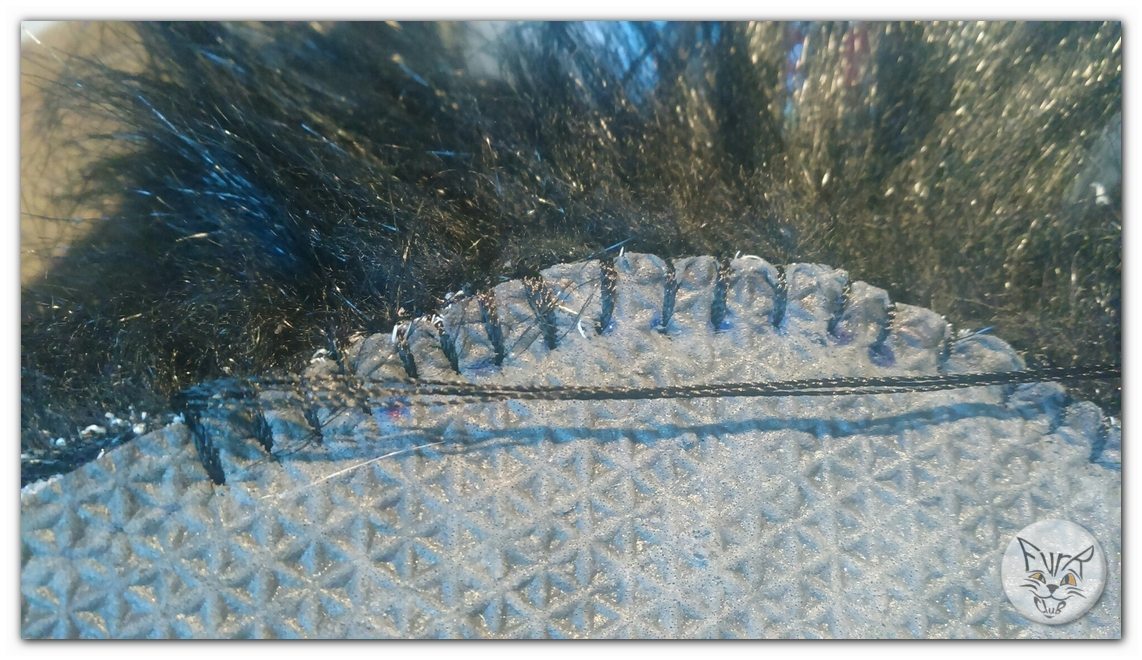
The pair of feetpaws
for a "dusty street" is stitched and glued along the edge with strong
threads.
|
||||||
 |
||||||
 |
||||||
| Up... | ||||||
The overalls |
||||||
|
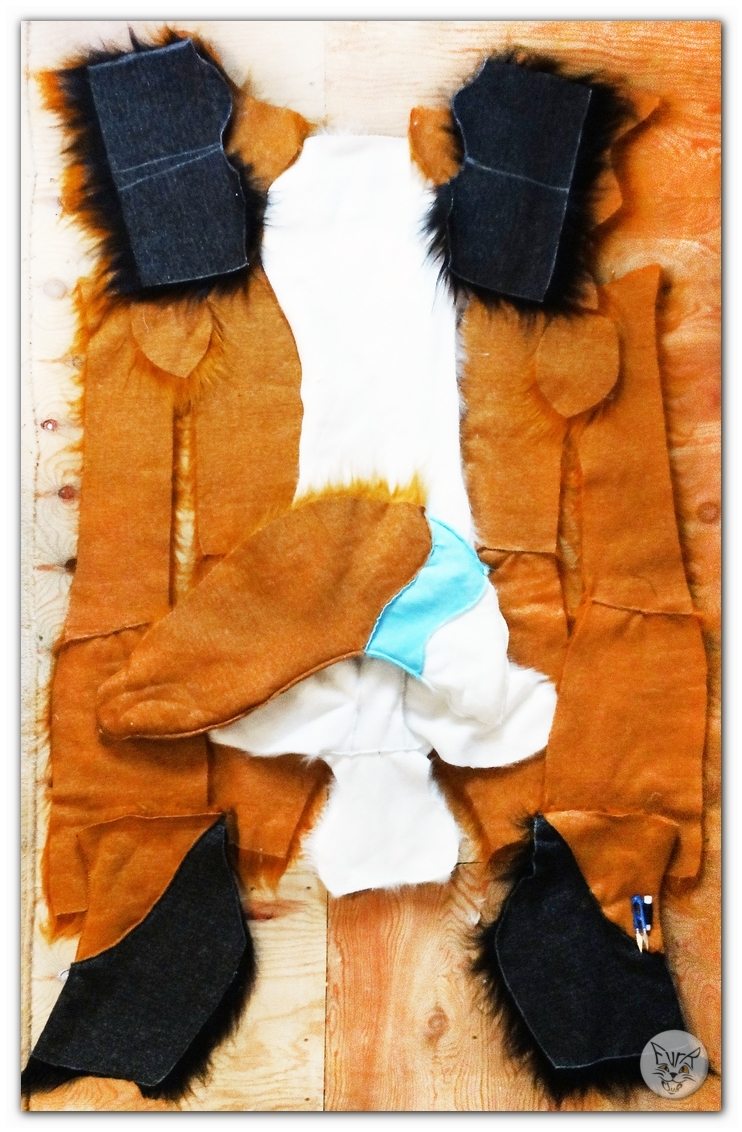
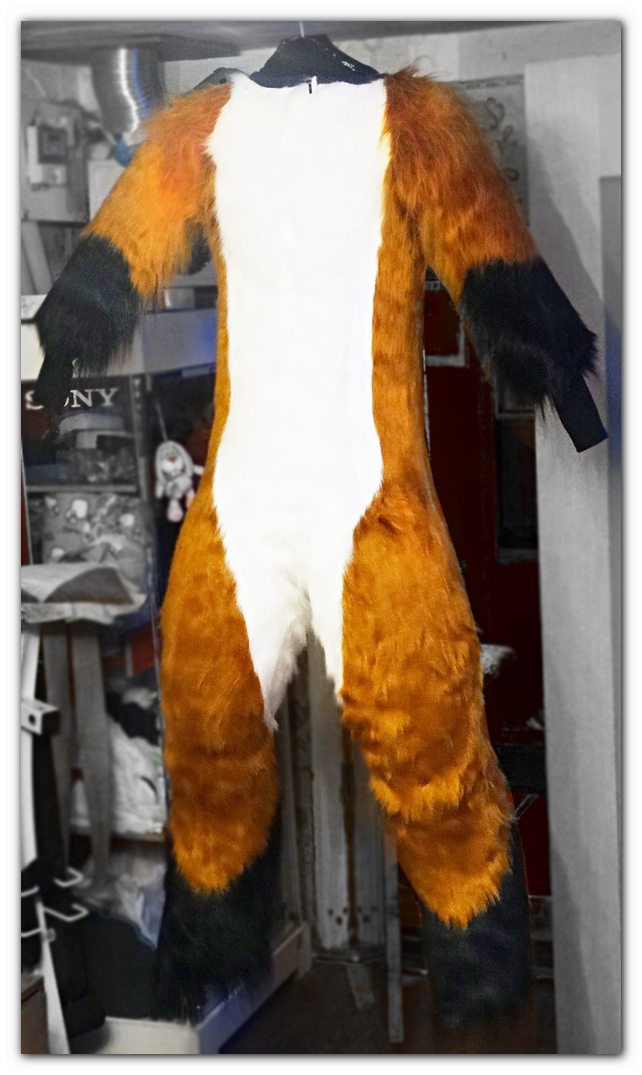
The overall is made
with a low waist and has a classic arrangement of white parts (for us).
It is sewn with a large margin for width, and is pulled down with
sewing by textile gum. So that the overalls are well for Fursuiter of
different sizes.
|
||||||
|
||||||
|
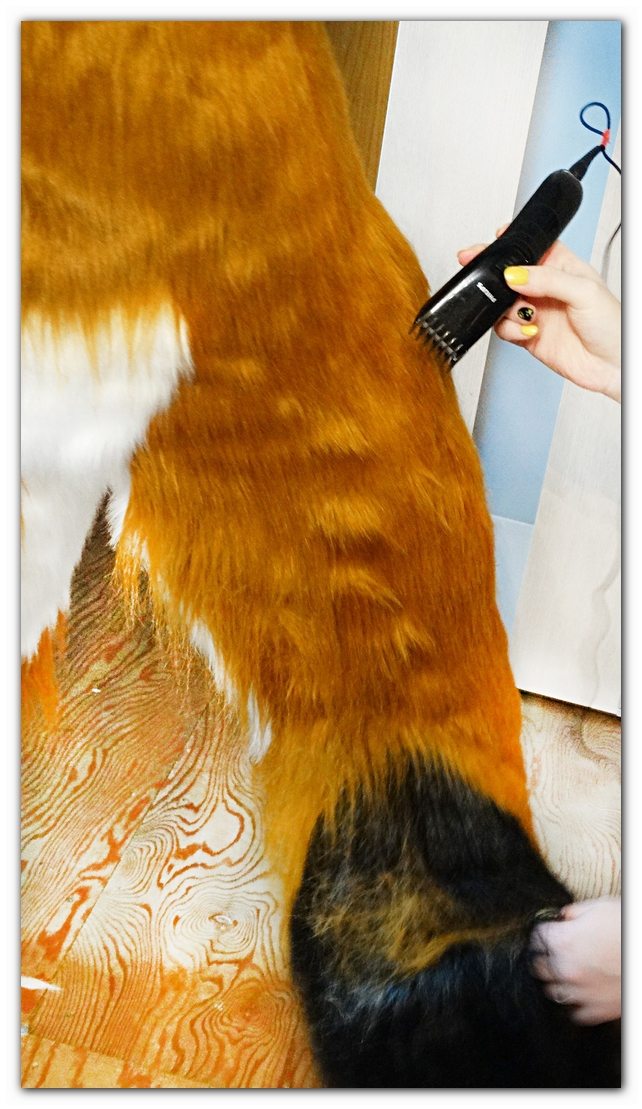
To make the overalls
look neater and more impressive,
it must be shaved:
|
||||||
|
||||||
| Up... | ||||||
The Lining of overalls. |
||||||
|
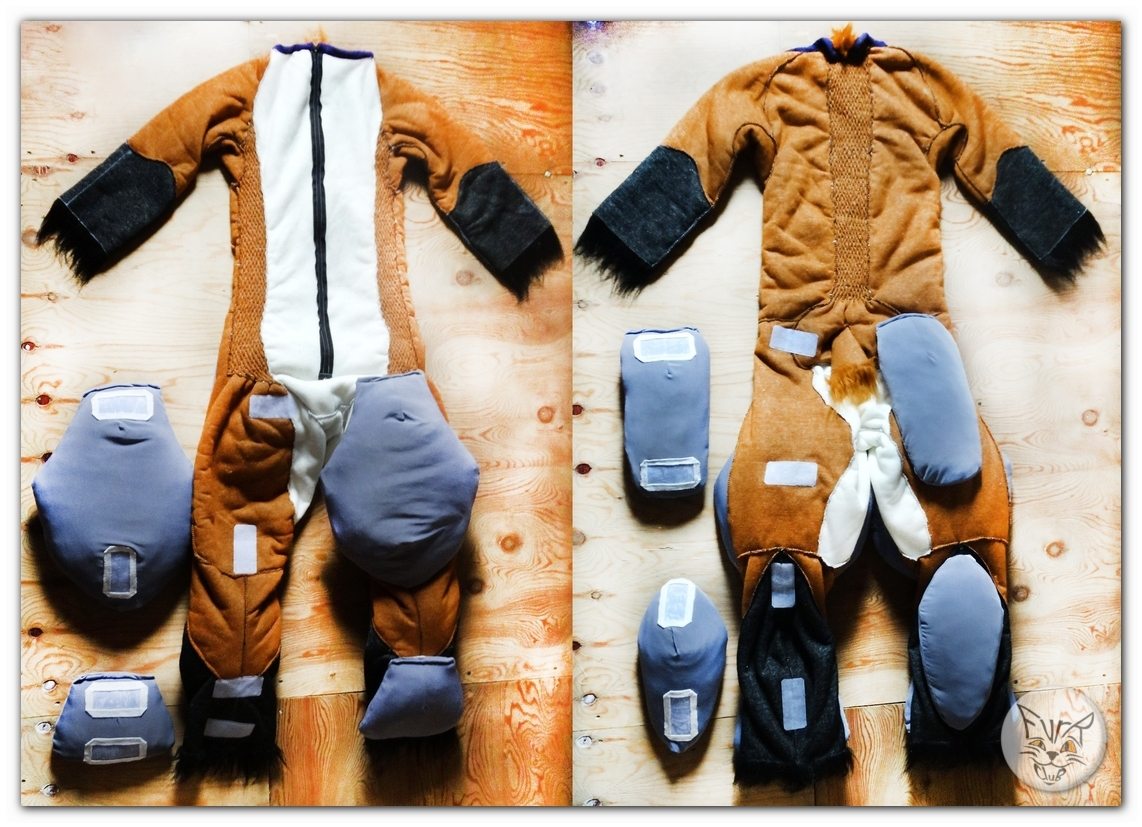
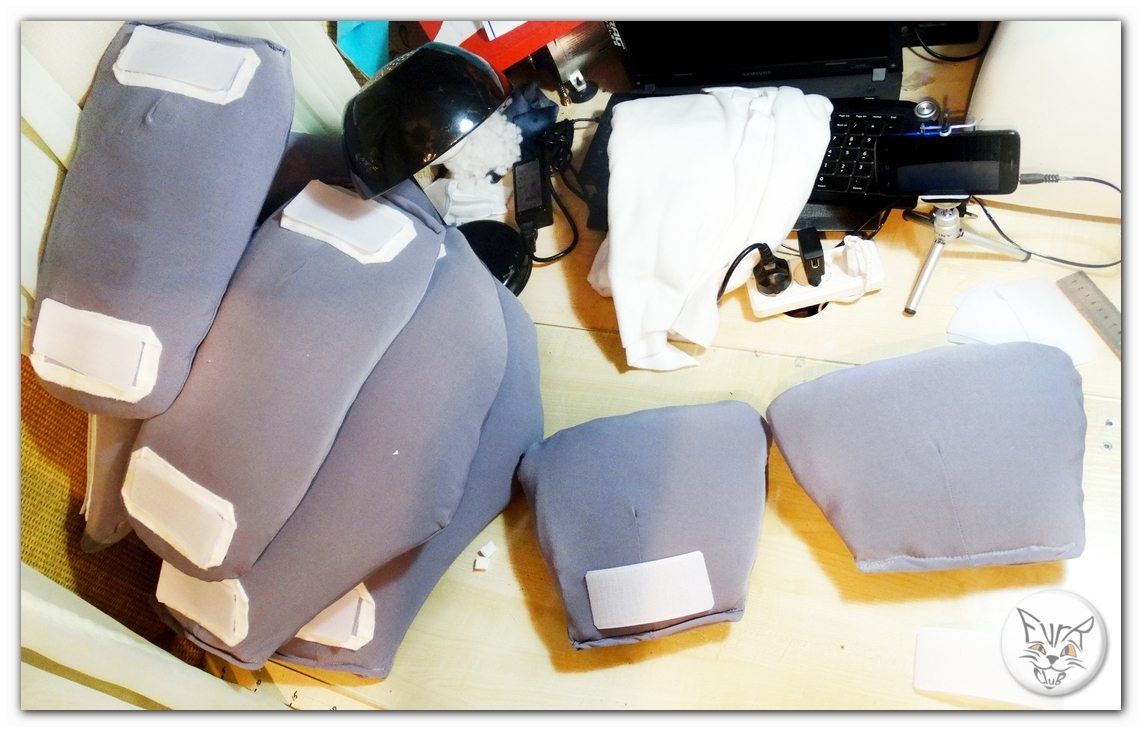
The shape of the
fursuit body is given by the pads. We make detachable pads from a very
stretchable fabric with a filling by "synthon balls". This allows you
to remove and clean them separately from the overalls. In addition,
they have very low weight relative to liners from foam rubber , and are
well compressed for transport.
|
||||||
 |
||||||
 |
||||||
| Up... | ||||||
The overalls tightening by textile elastic bands |
||||||
|
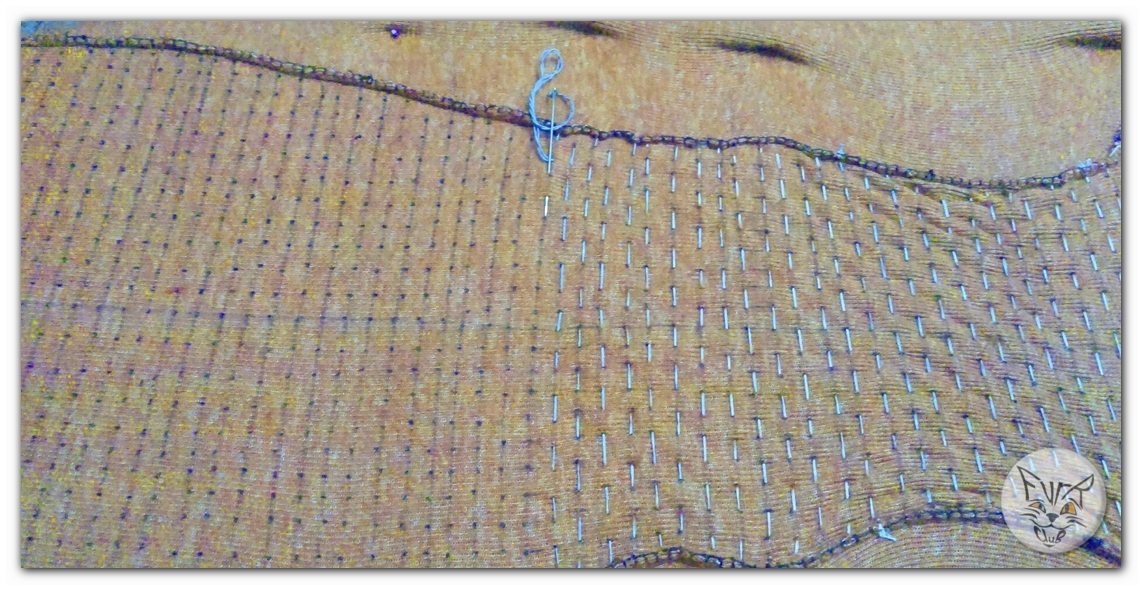
This is how the
looks the textile elastics. This is done so that the overalls sit "like
a glove" in a wide range of Fursuiter sizes.
|
||||||
 |
||||||
| Up... | ||||||
The tail |
||||||
|
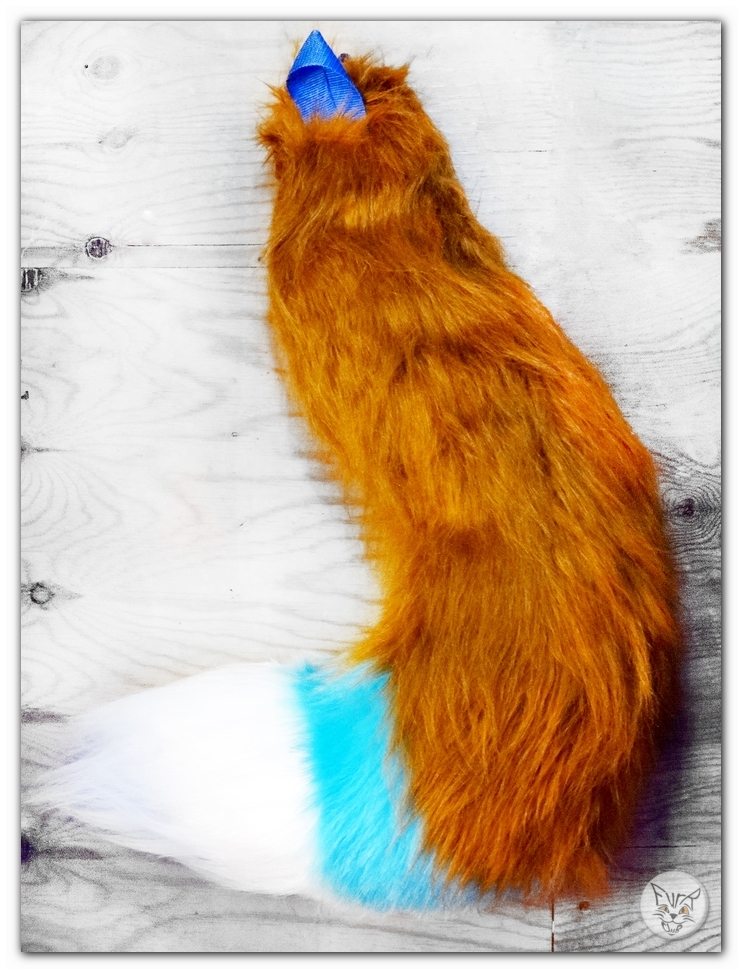
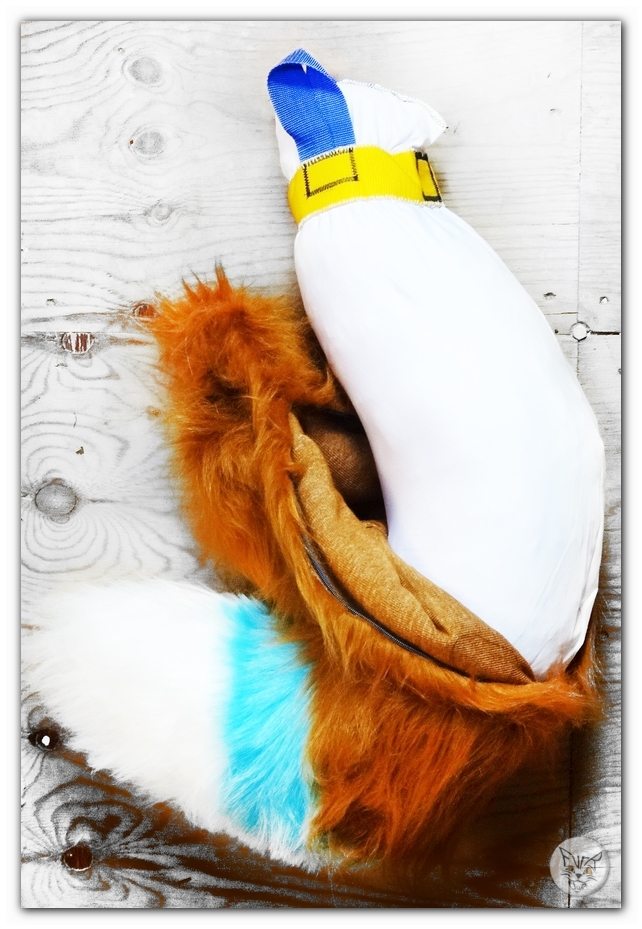
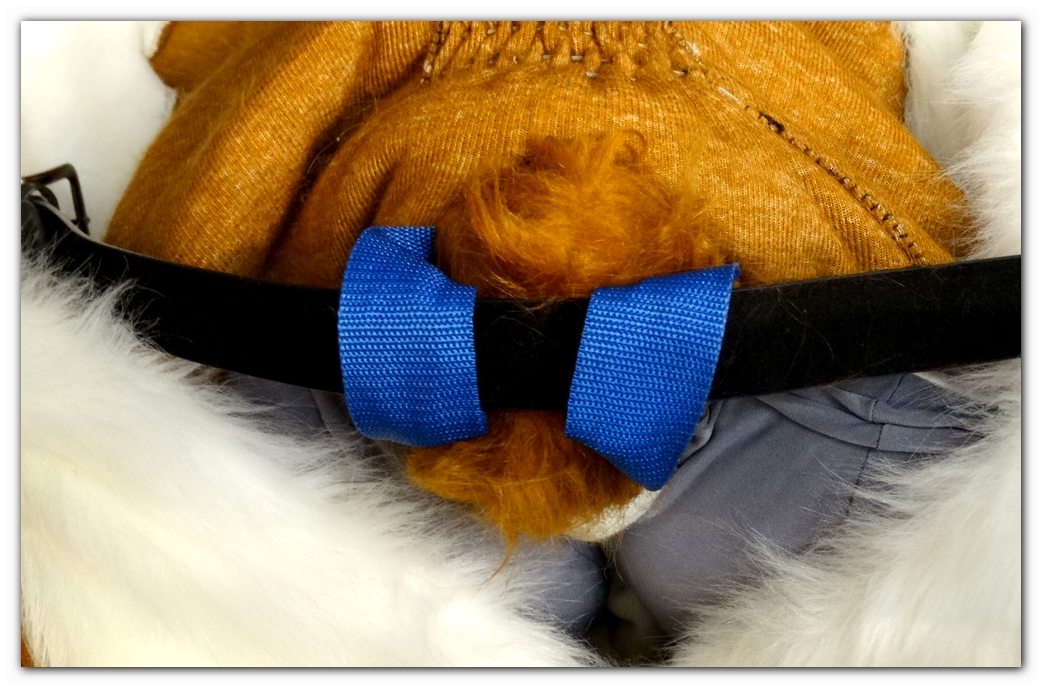
The tail is made
demountable by parts. With a removable fur skin-cover we facilitate the
process of its drying after washing, as in most cases it is enough to
wash only the fur part of the tail. Fastening of the tail to the belt
is provided by loops of a strong nylon cable, sewn to the tail frame -
a very sturdy construction. In the overalls a small sleeve for the tail
is provided to ensure a smooth transition of the lines from tail to
body.
|
||||||
|
||||||
 |
||||||
| Up... | ||||||
 |
||||||
Go to the full description of Fursuit
